Upgrading Competition Pro joysticks

The 8-bit and 16-bit home computer era had two legendary arcade-style game controllers - the Suncom TAC-2 and the Kempston Competition Pro. While I’m somewhat partial to the former due to it’s ultra-low-tech construction, I enjoy using both in equal measure.
My Competition Pro joysticks are not the original Kempston models, but modern reproductions sold by Speedlink. While the form of the joystick itself is rather true to the original, the internal wiring and microswitches are somewhat prone to breaking. Fortunately the joystick is very easy to modify and upgrade, so let’s see what can be done!
While the two joysticks I have are identical on the outside, the internals do differ quite much - the most obvious one being the colour of the internal plastic parts, such as the ones holding the microswitches. The fire buttons were also wired in a different way. Something that was not quite as easy to notice is that while the microswitches look the same on the outside, one joystick had switches with 75g actuation force and the other had considerably stiffer switches - some even measured up to 250g!
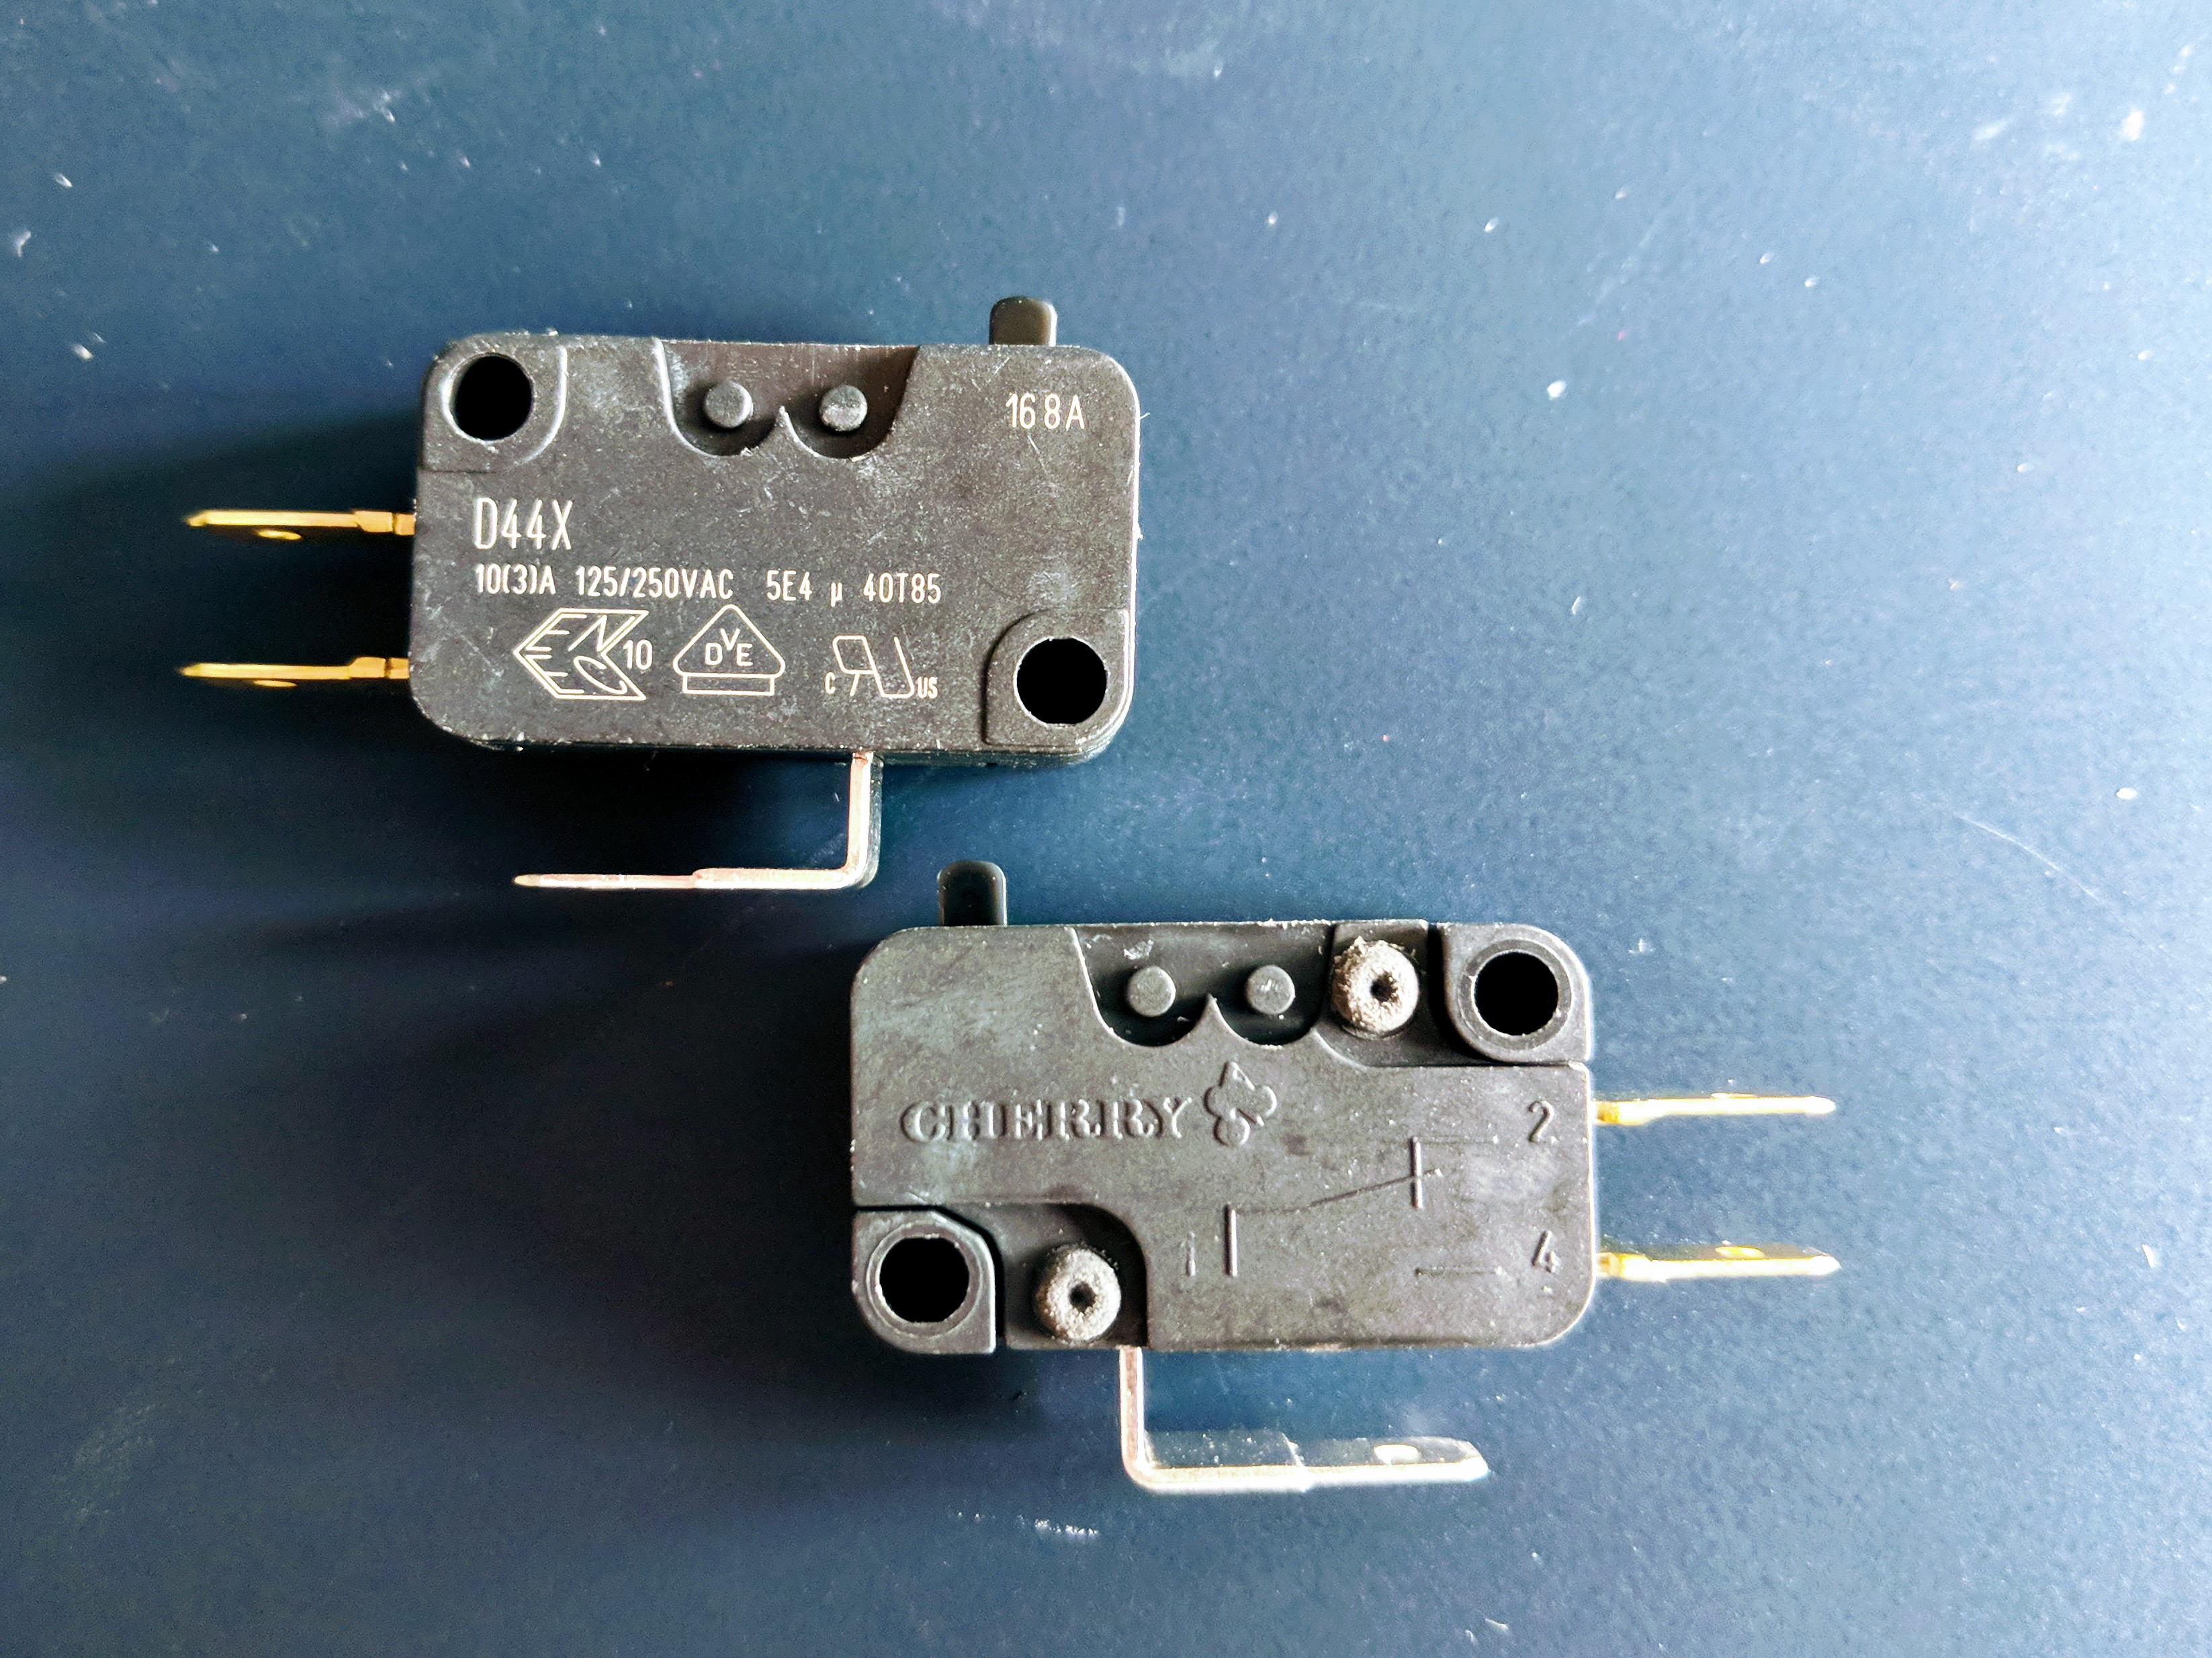
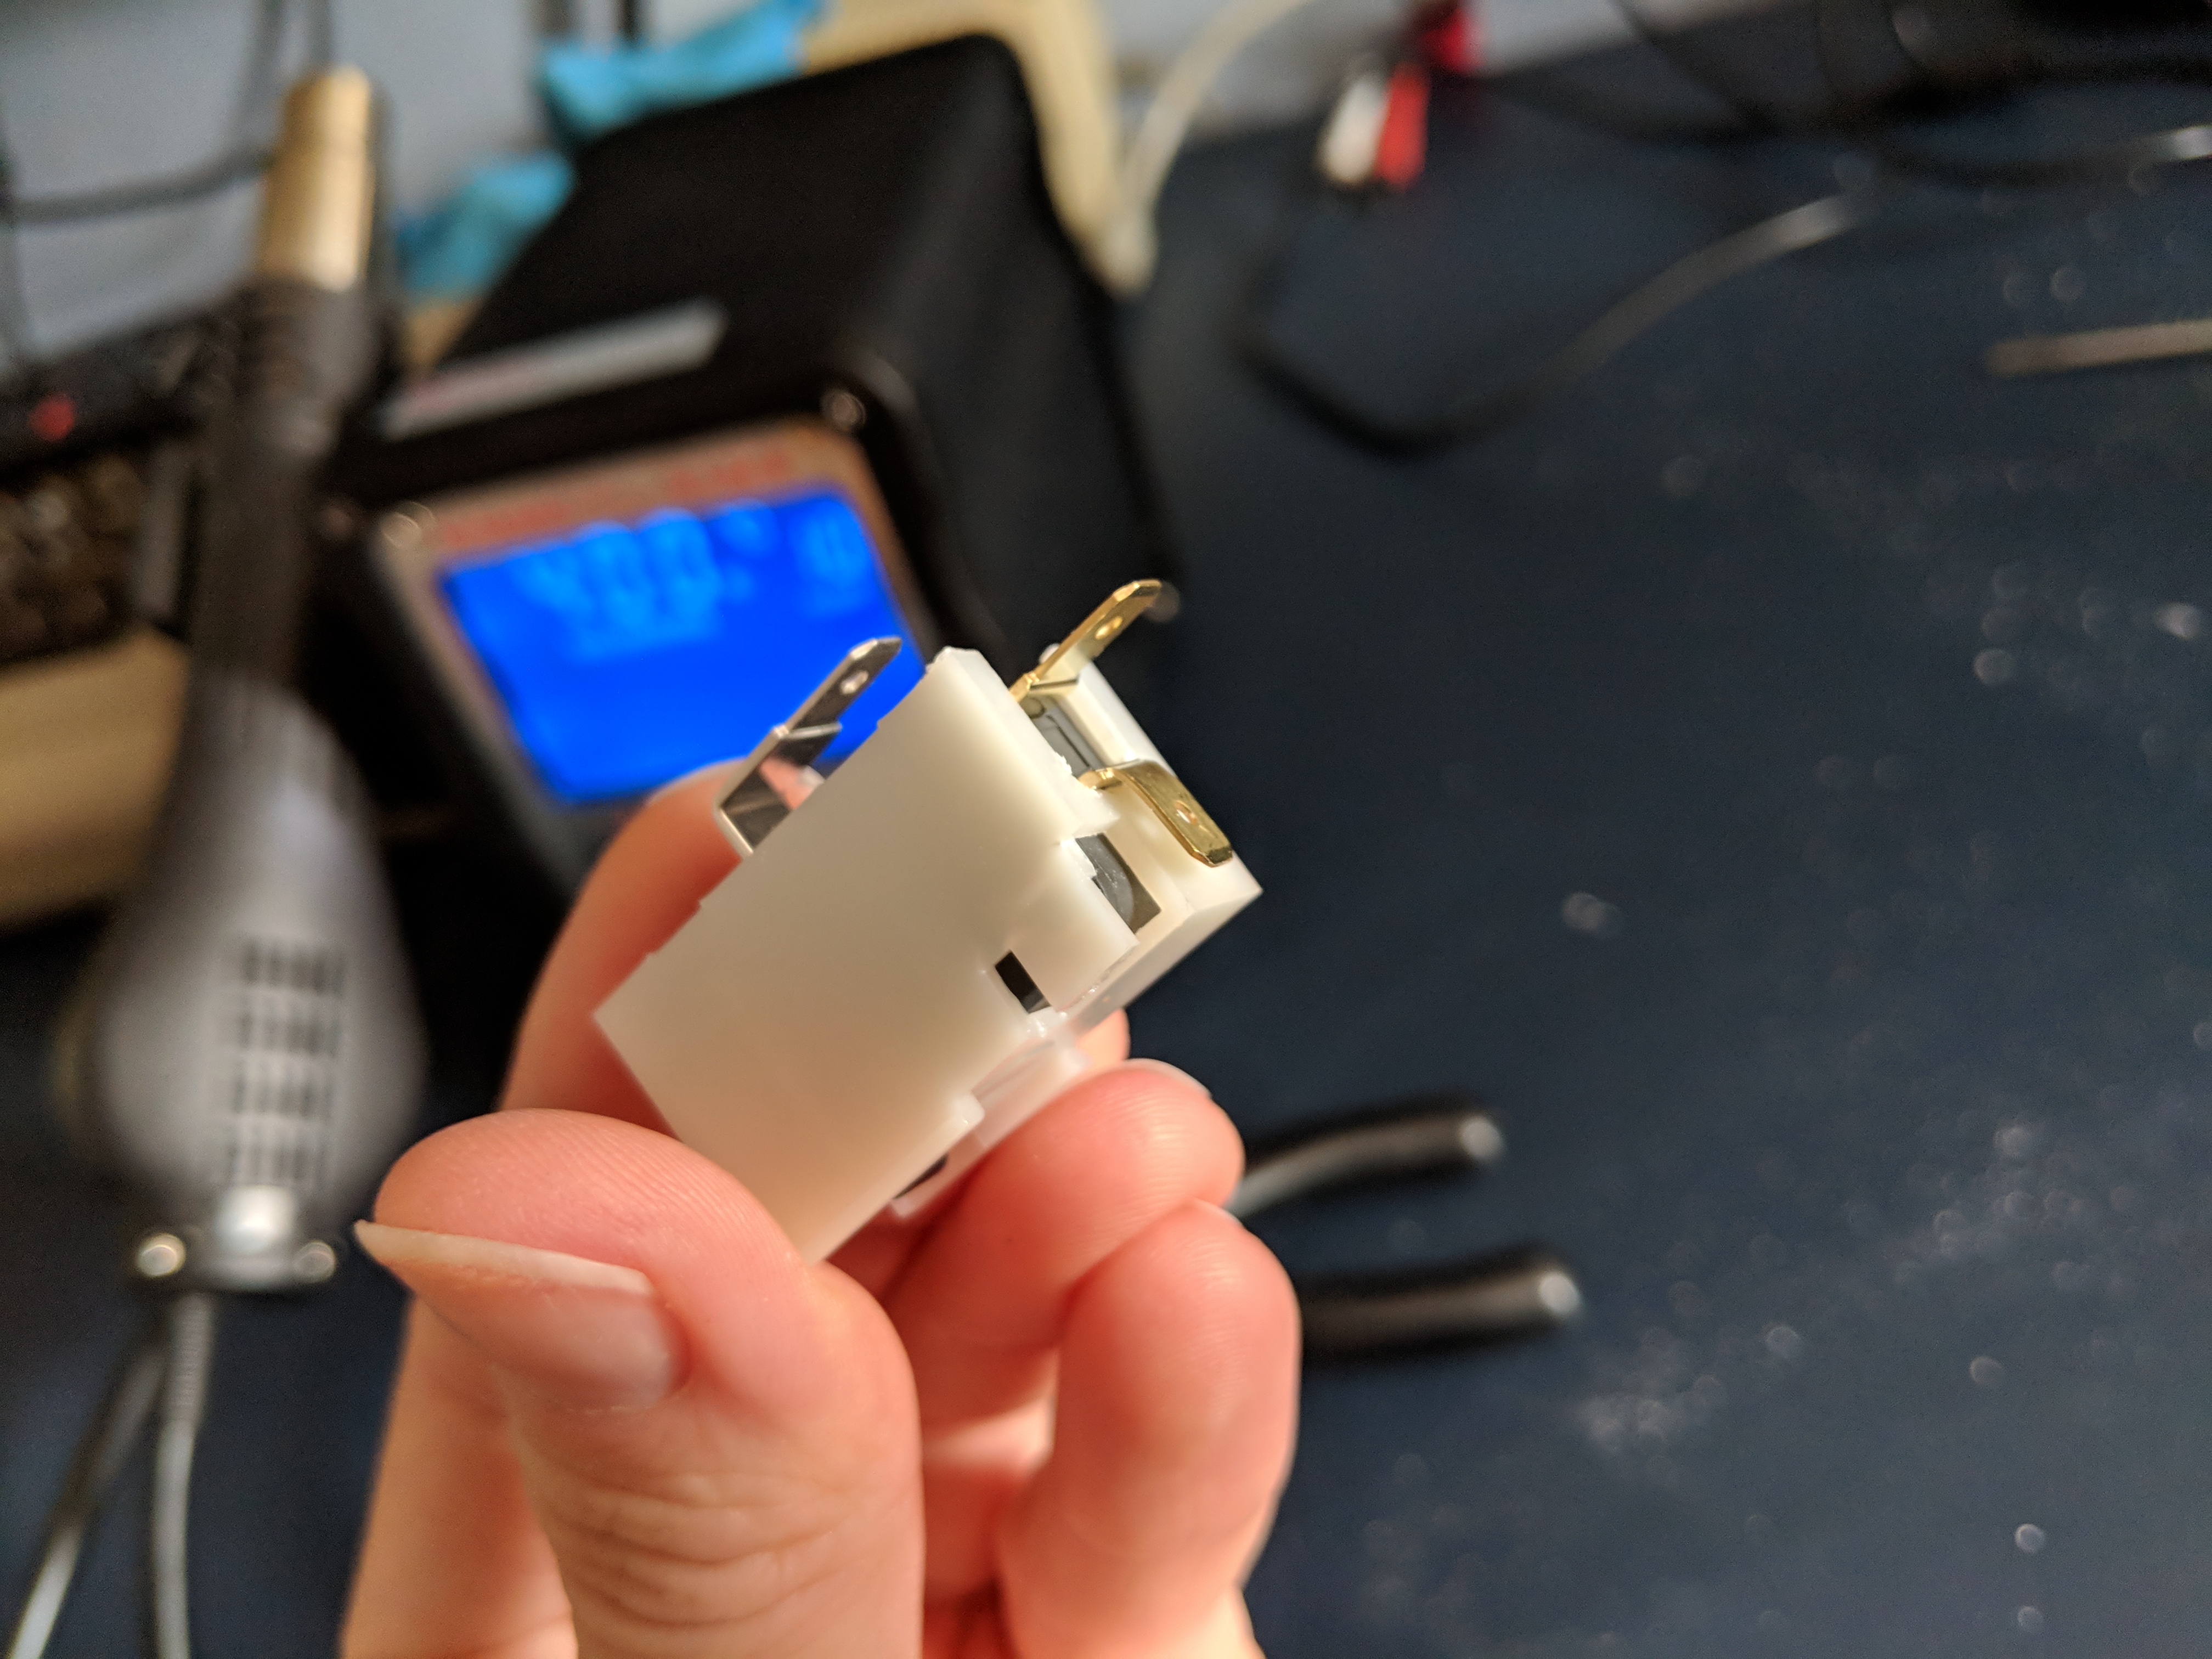
My first order of business was to get a full set of microswitches that I could use to replace the original ones. I ended up getting Suzo-Happ E-switches with 50g actuation force for the directions and Cherry D44X switches with 45g actuation force for the large fire buttons. These are arcade-quality switches, so they shouldn’t be breaking anytime soon. For the triangular buttons, I left the original tactile switches intact.

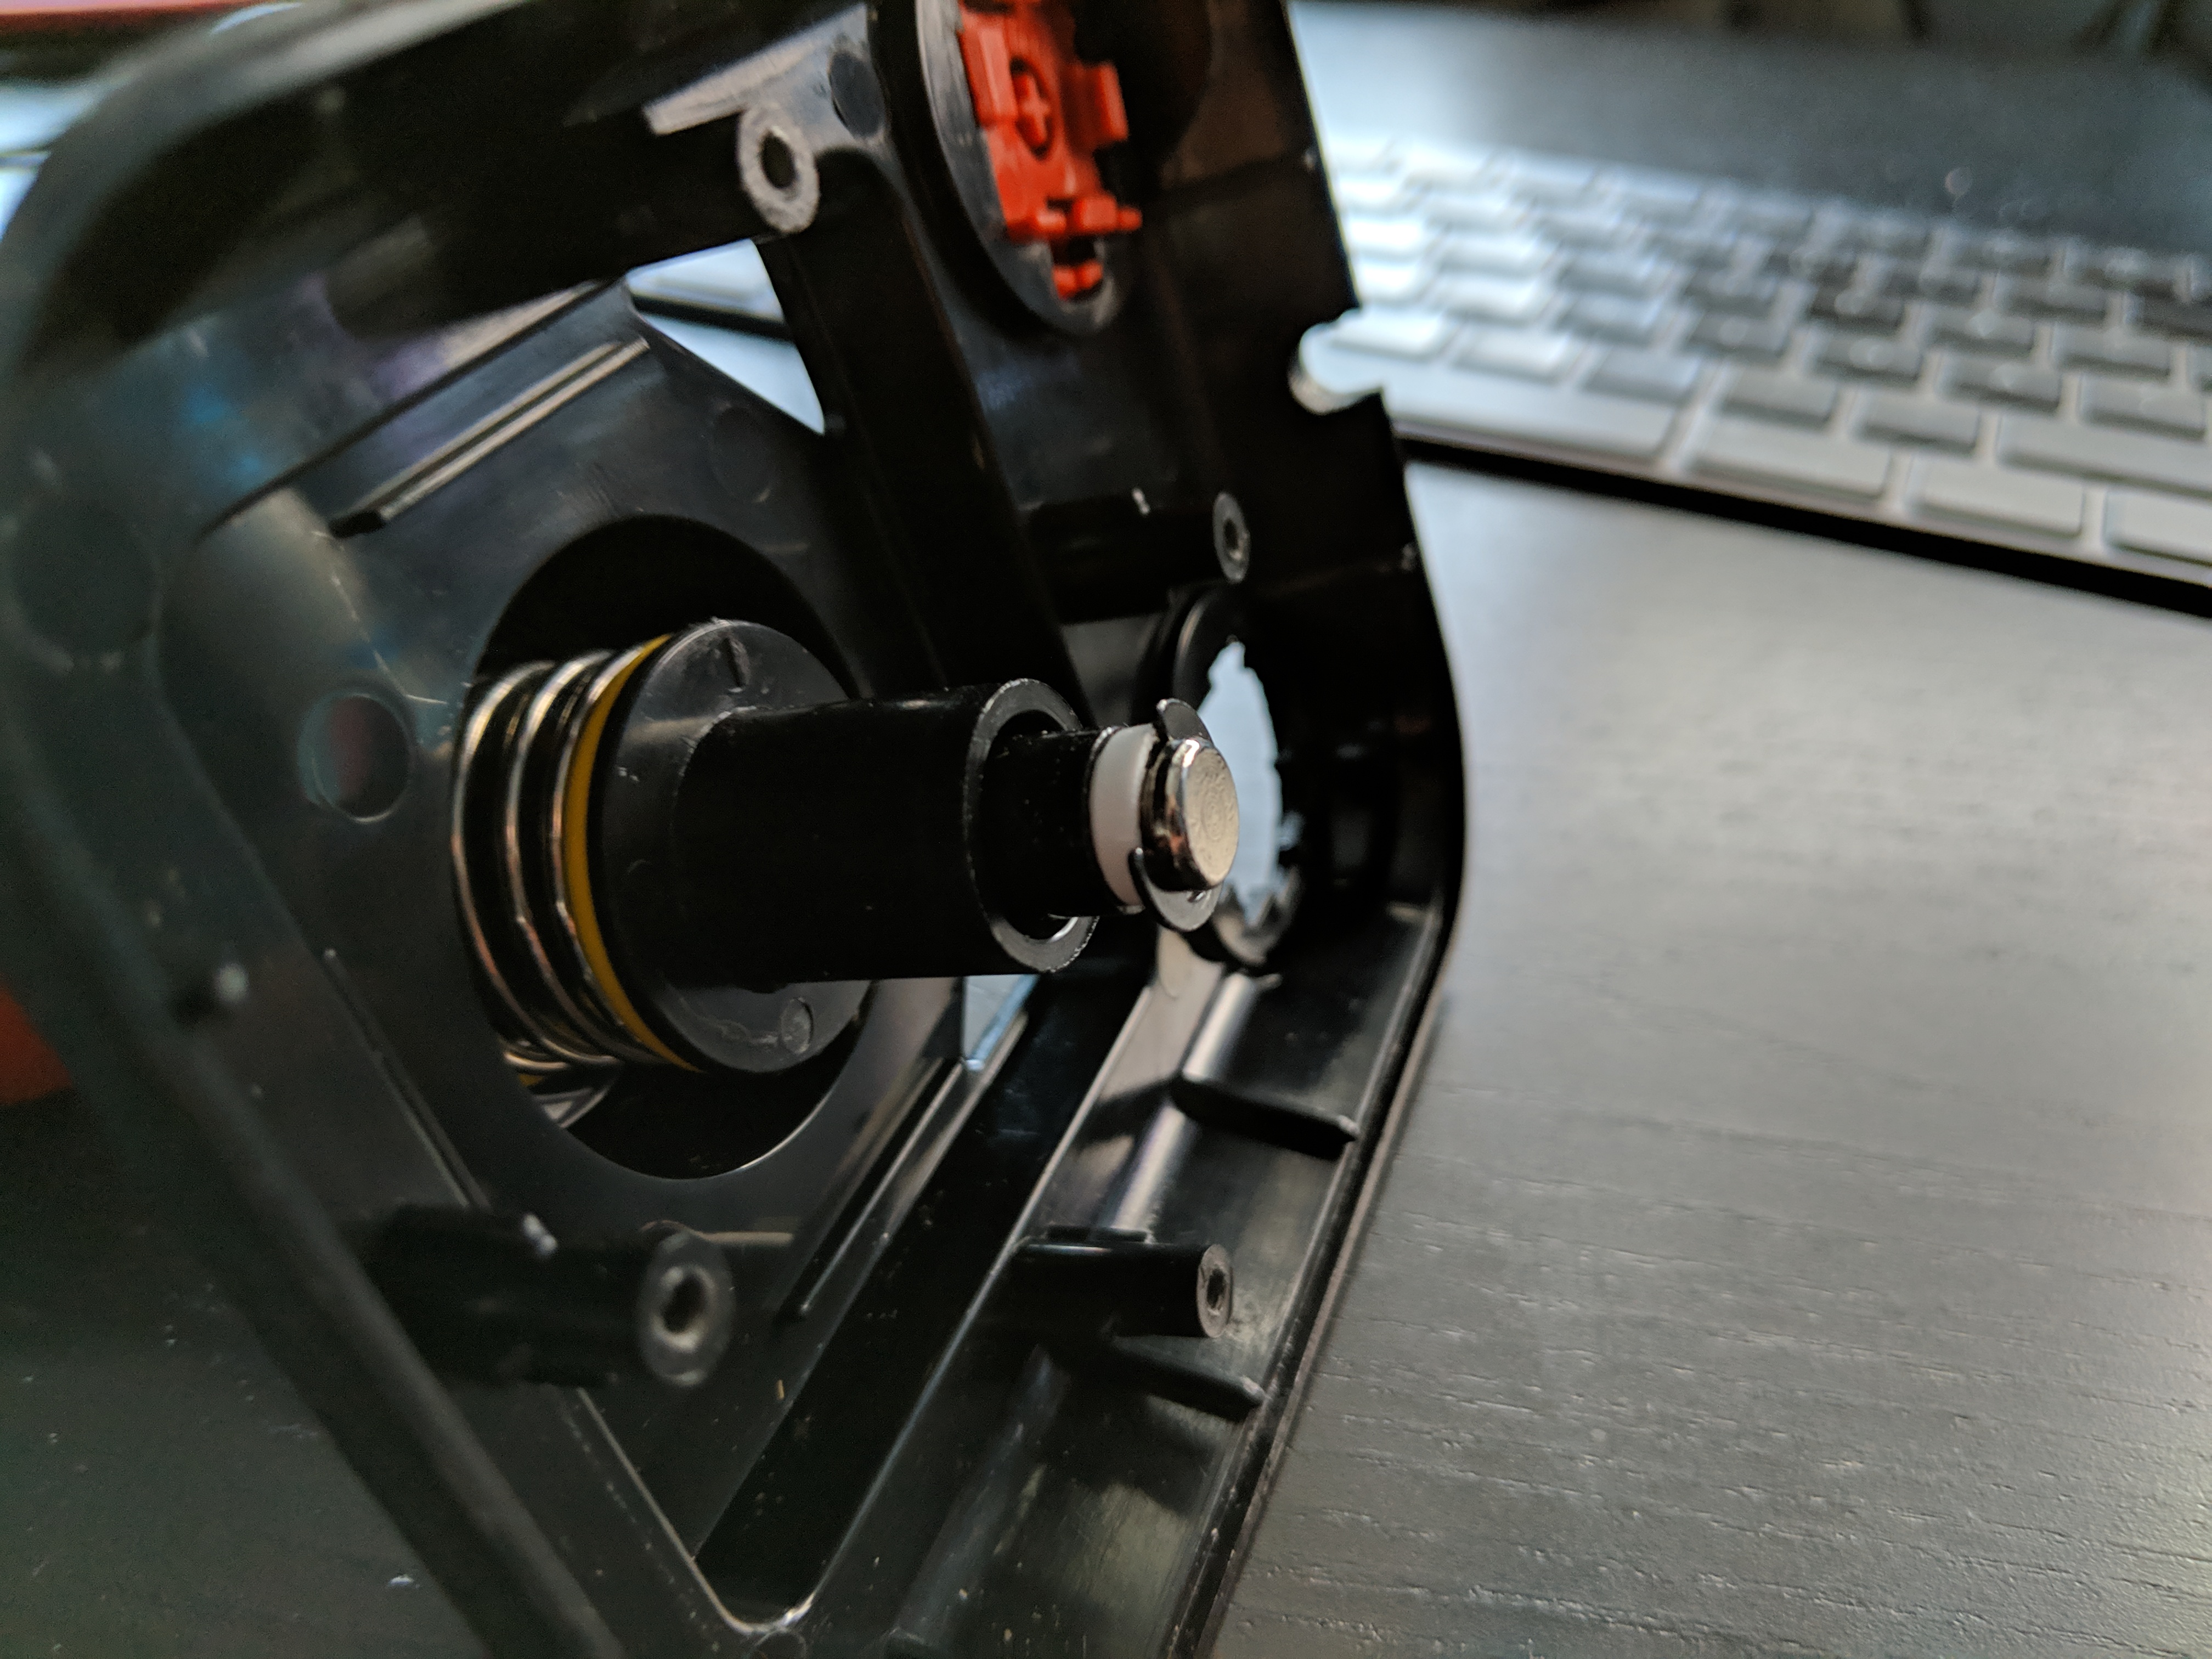
To compensate for the stiffer switches, the other joystick used a slightly softer spring to center the stick. This, in turn, made the spring more prone to remain ringing when the stick is released. To cut down the noise a bit, I made a rudimentary damper for the spring with some heat-shrink sleeve. It doesn’t completely remove the noise, but at least now it’s a bit quieter and the ringing doesn’t sustain quite as much.
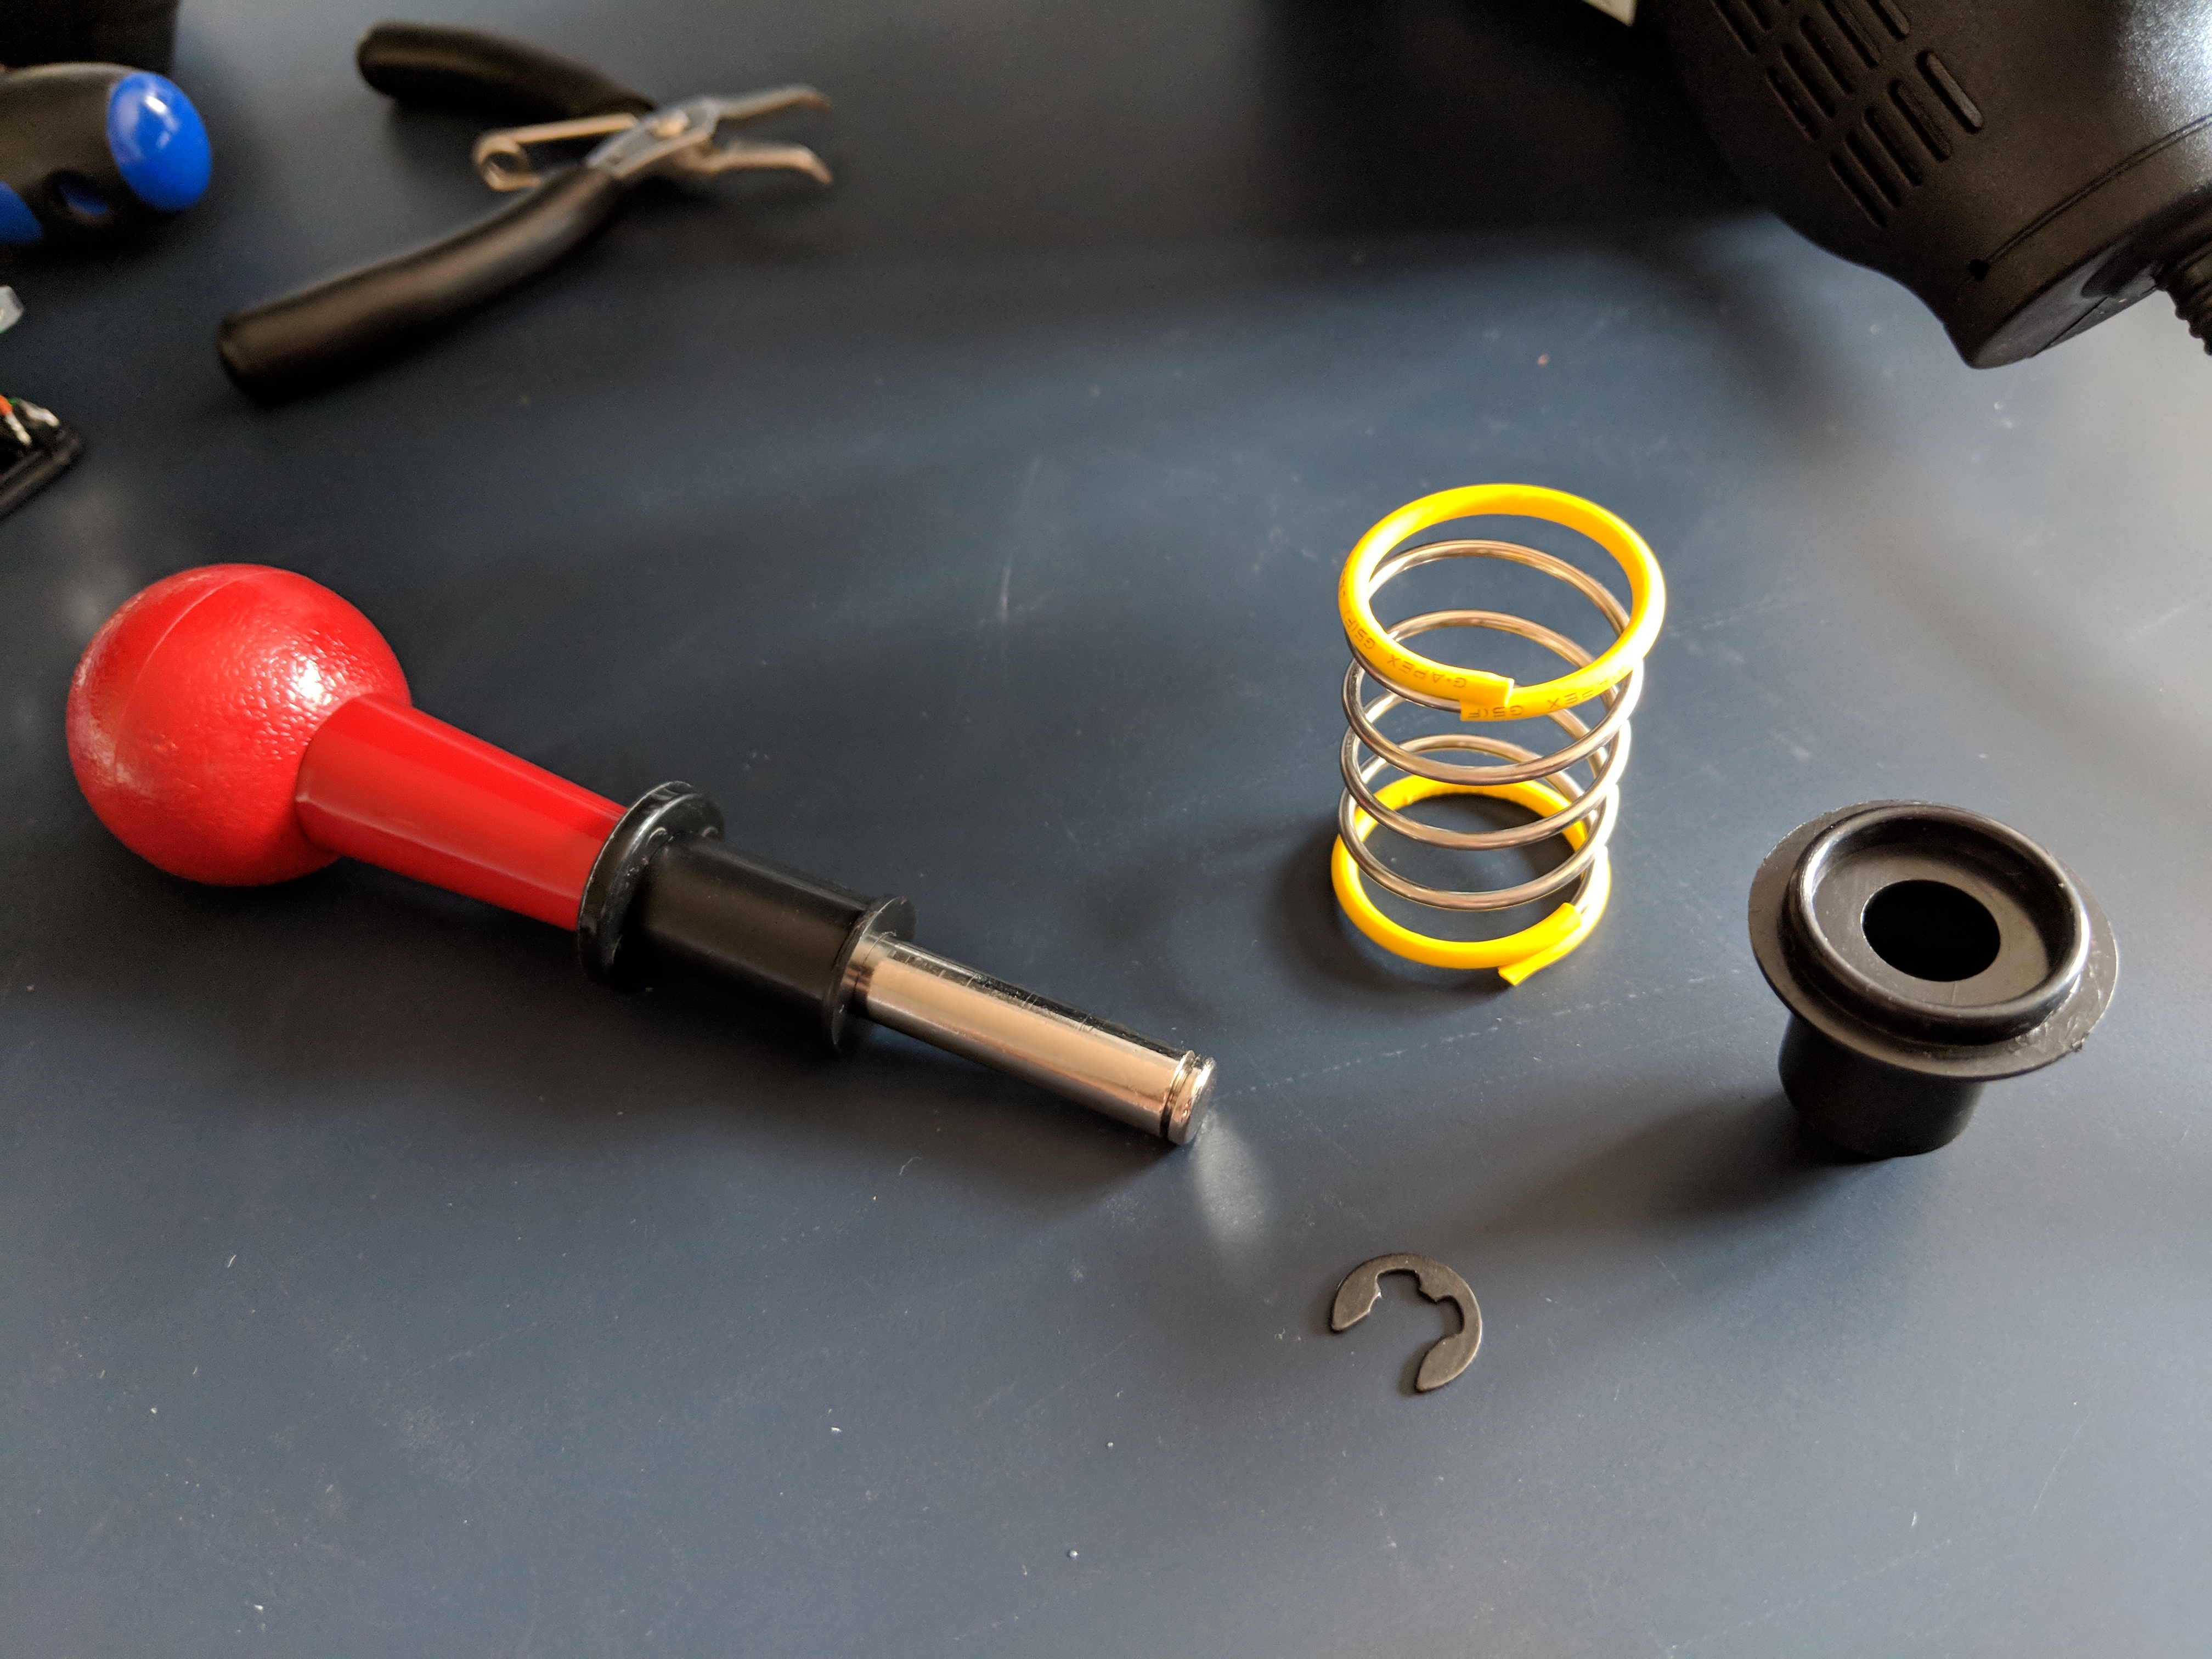
The effect of the lighter spring is noticeable when compared side-by-side with the other joystick. Using a very crude measuring rig, I determined that the difference in force, when measuring from the ball at the end of the stick, is roughly 50g. It’s not that significant, but given that I have both joysticks disassembled, it would nice to try to get them equal. Hunting down two identical springs may be quite a challenge, so the easiest solution would probably be just pre-loading the spring on the lighter one with a shim.
I found a blanking cap with a perfect inner diameter left over from some Ikea furniture and cut a suitable ring to fit under the C-clip. This doesn’t quite make the stiffness of the two joysticks equal, but at least the difference is less now.
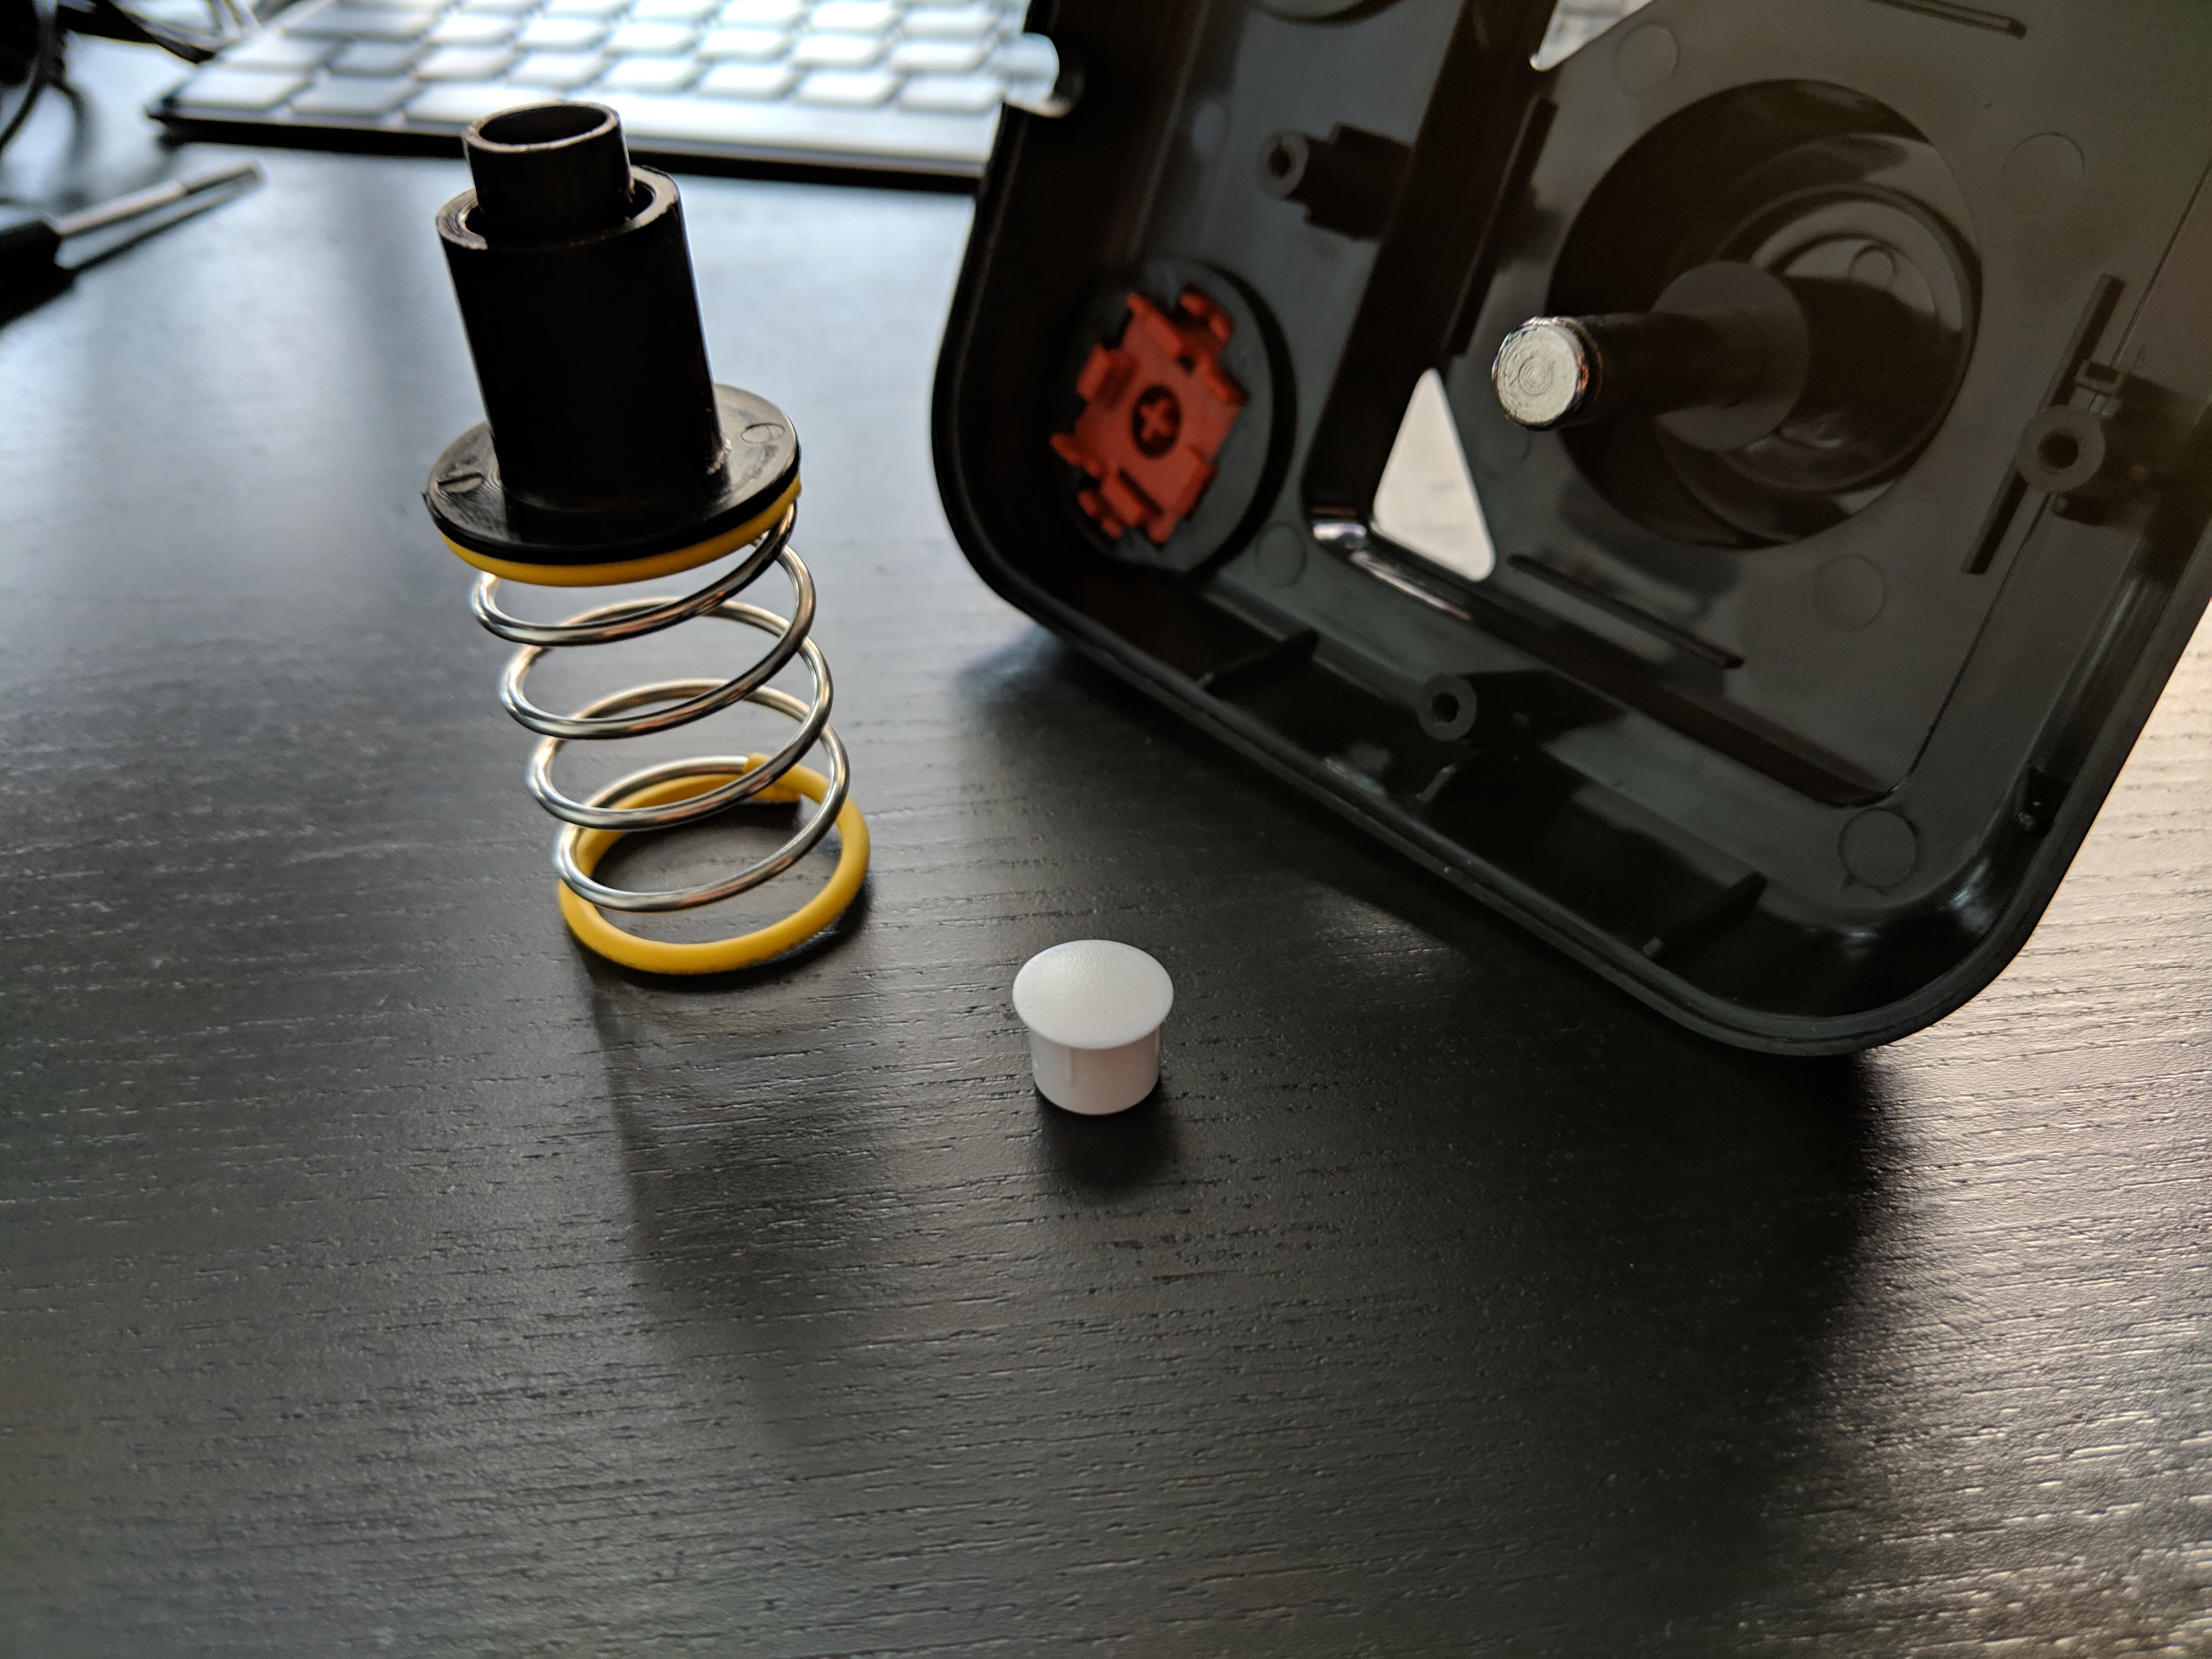
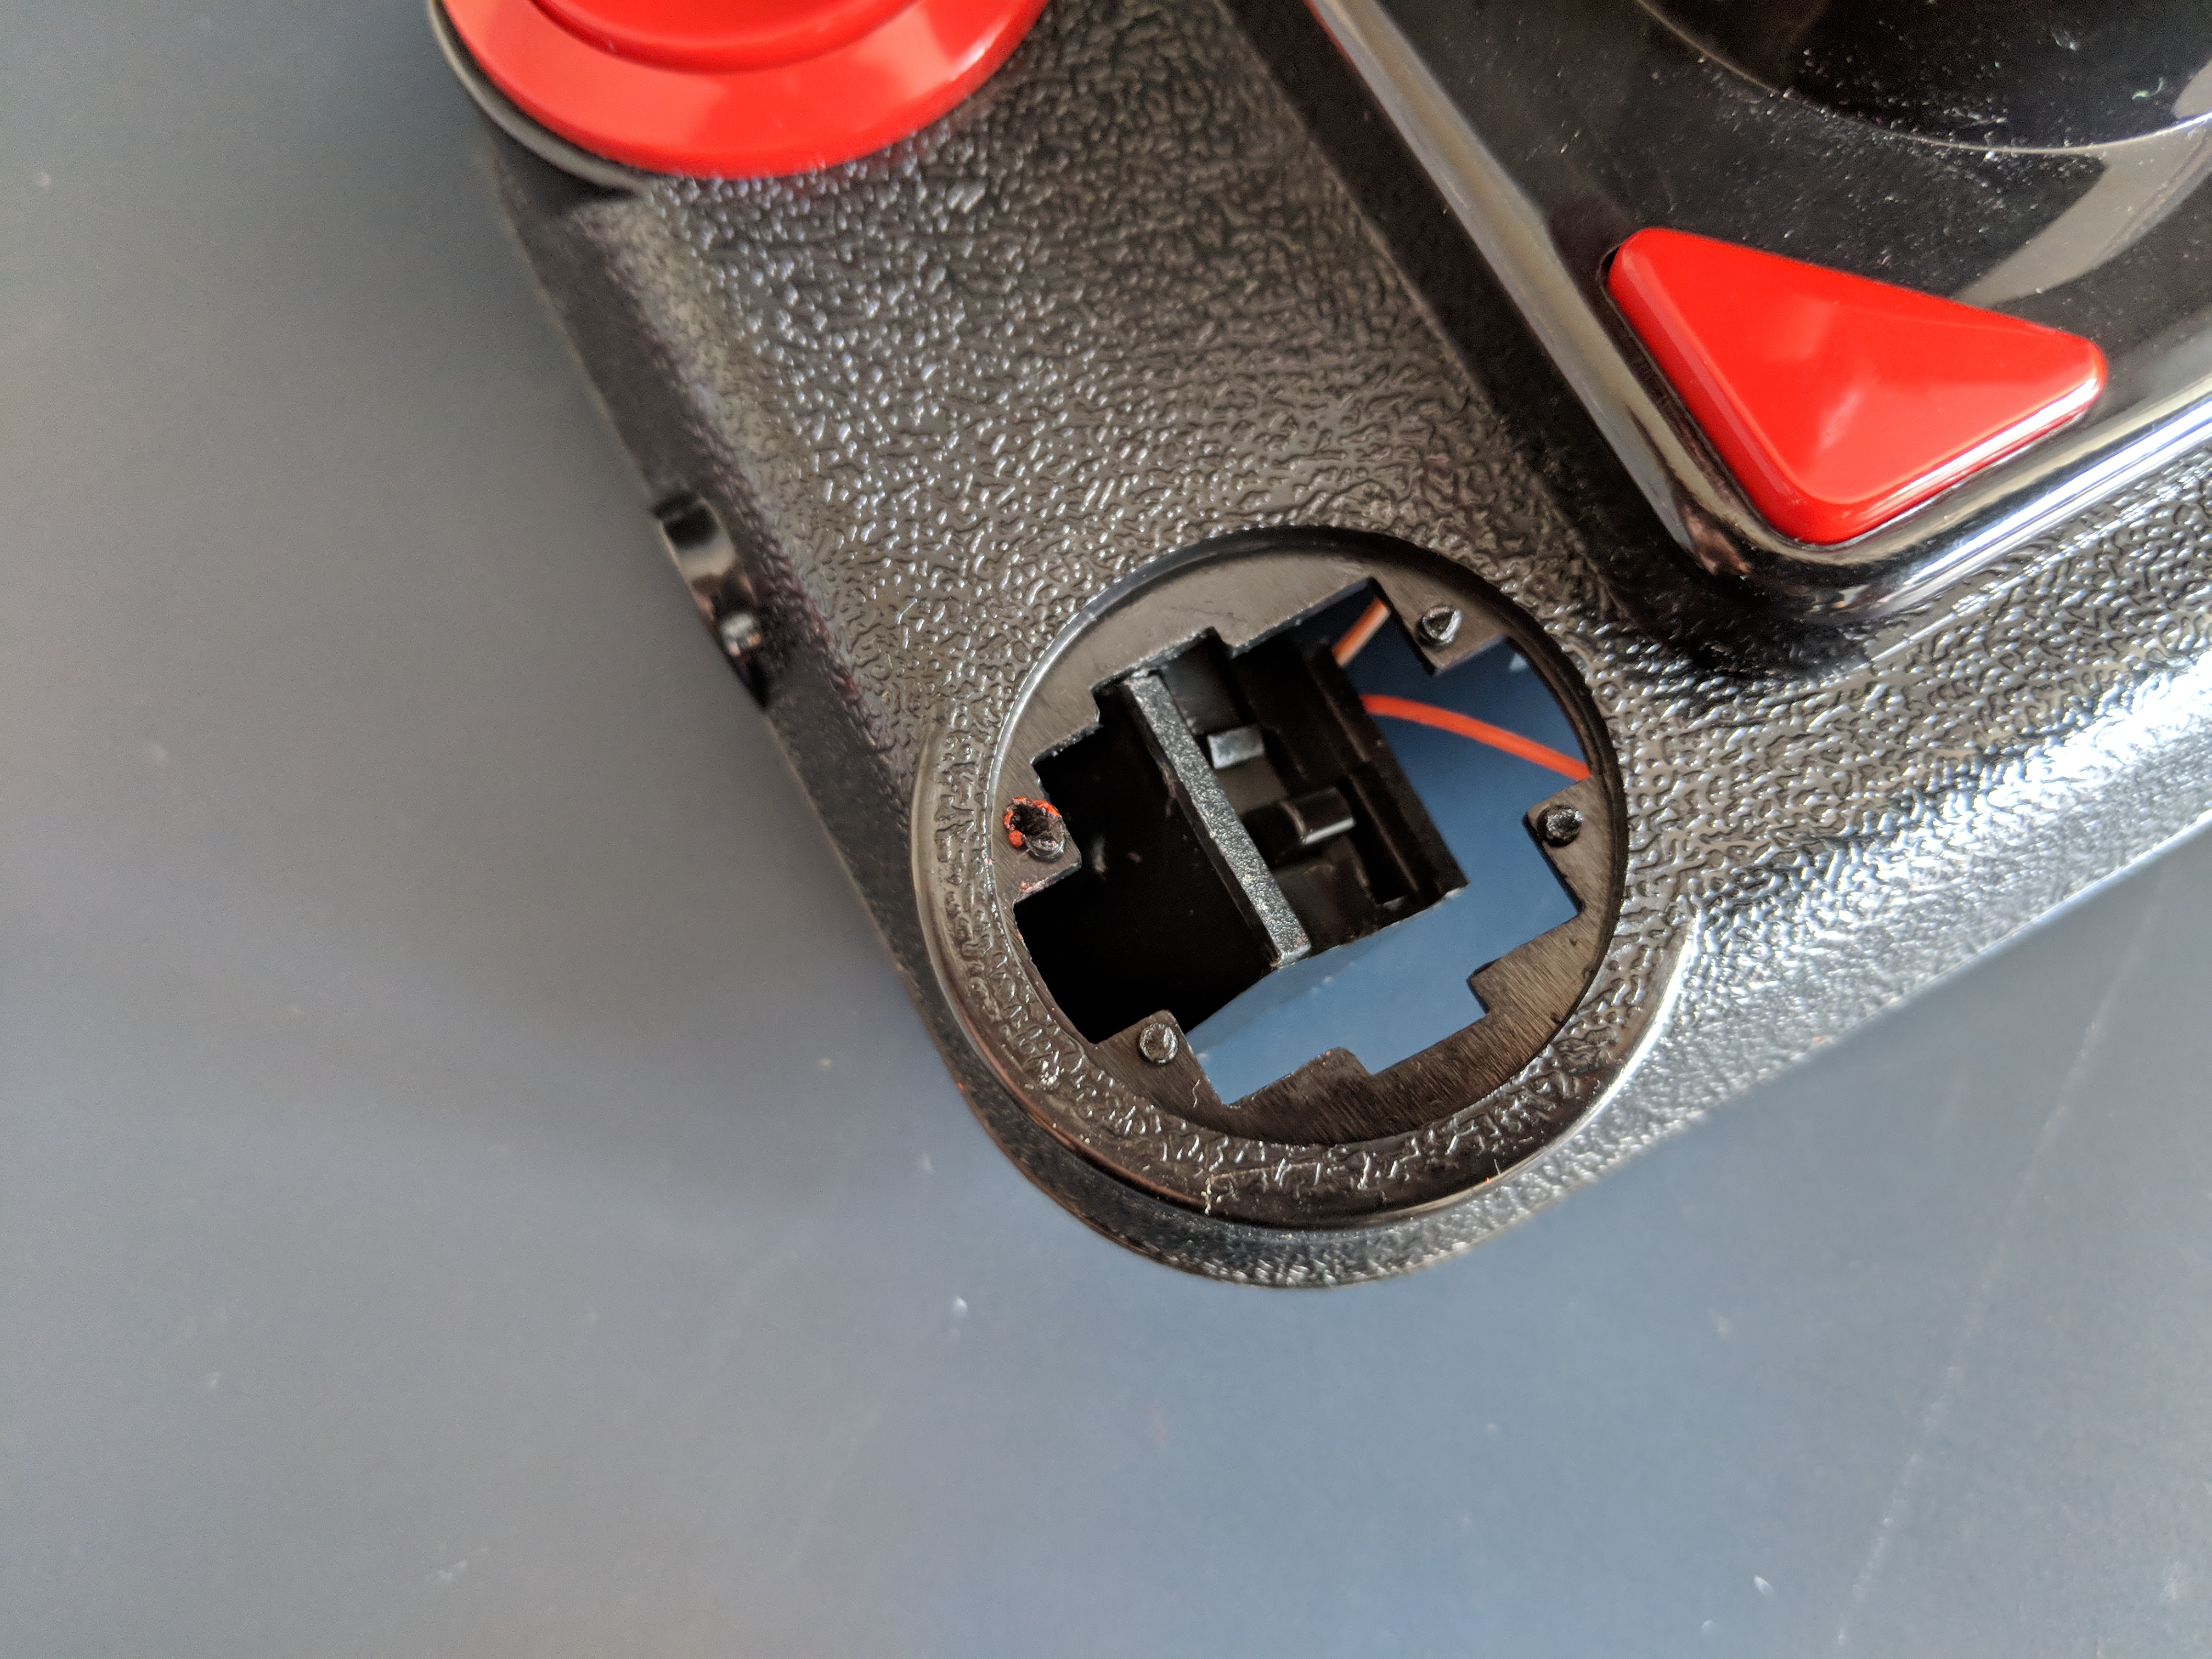
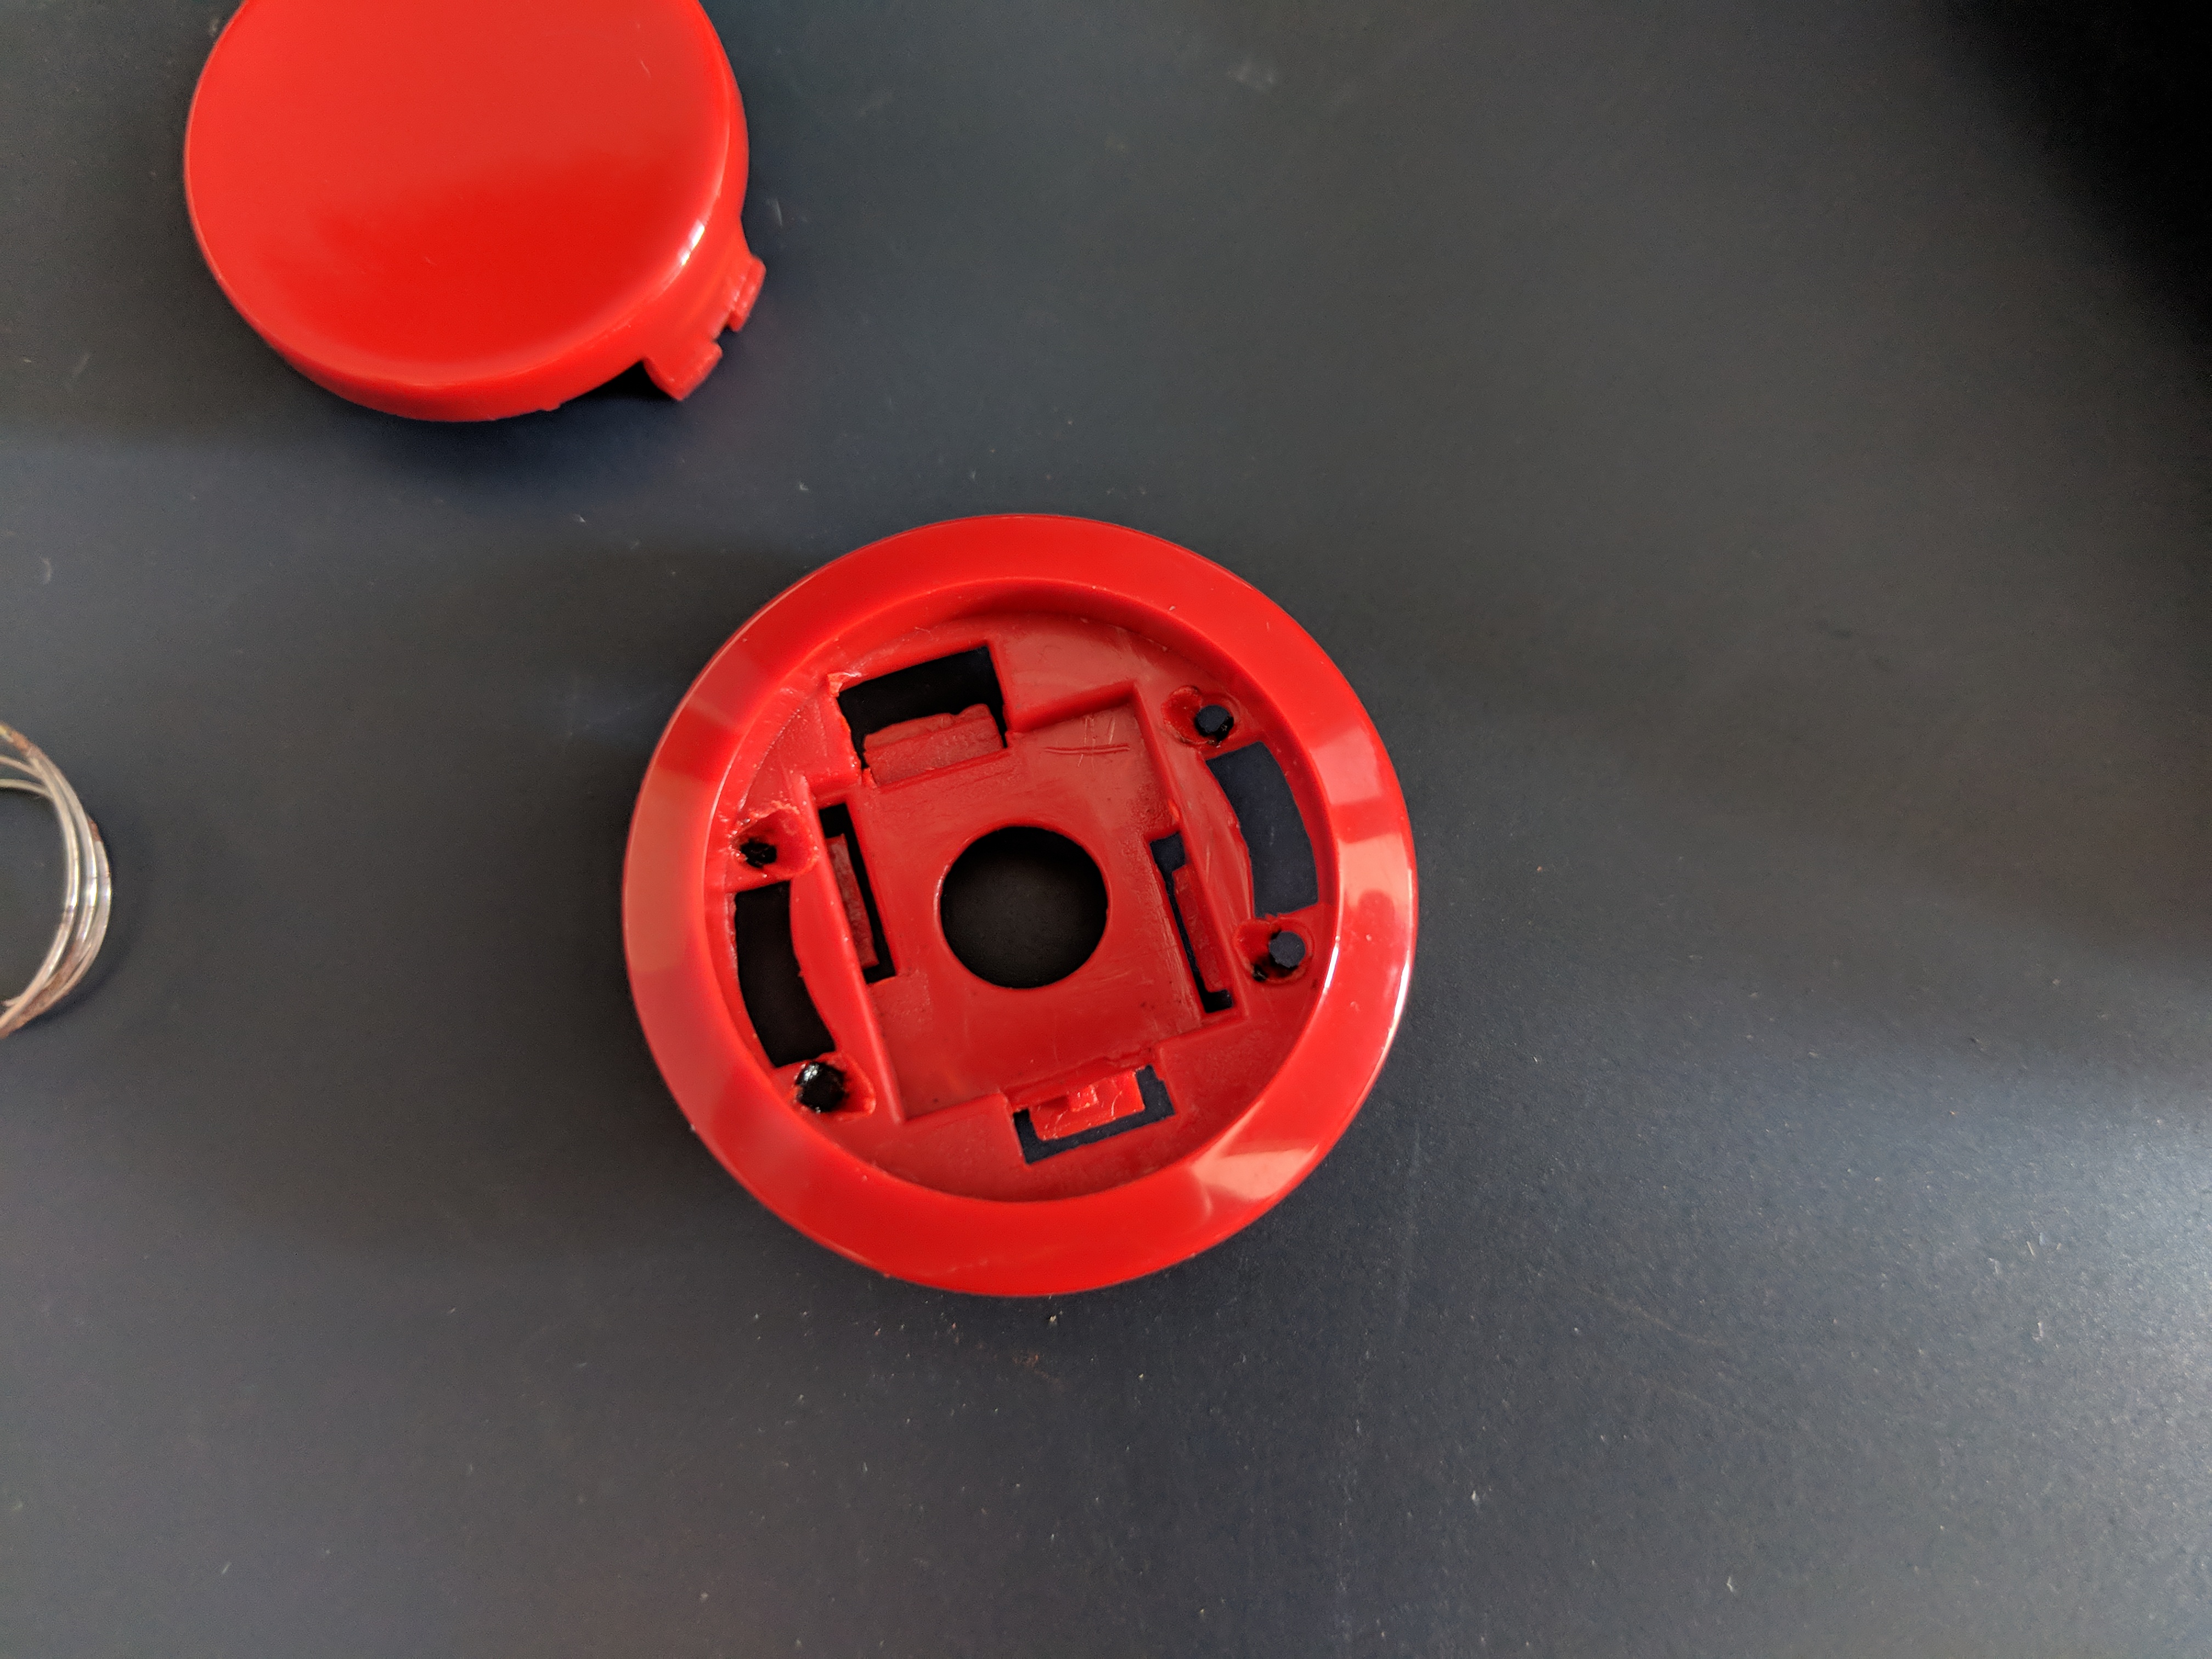
After removing the microswitch from one of the fire buttons, the red collar around the button came loose. It appears that they are only attached to the top casing by small plastic pins which have been melted slightly - possibly with a soldering iron. I applied a drop of superglue to fix it back in place. Interestingly, though - by removing the collar and slightly enlarging the hole on the top casing, it would seem to be quite easy to replace the entire fire button assembly with standard arcade buttons.
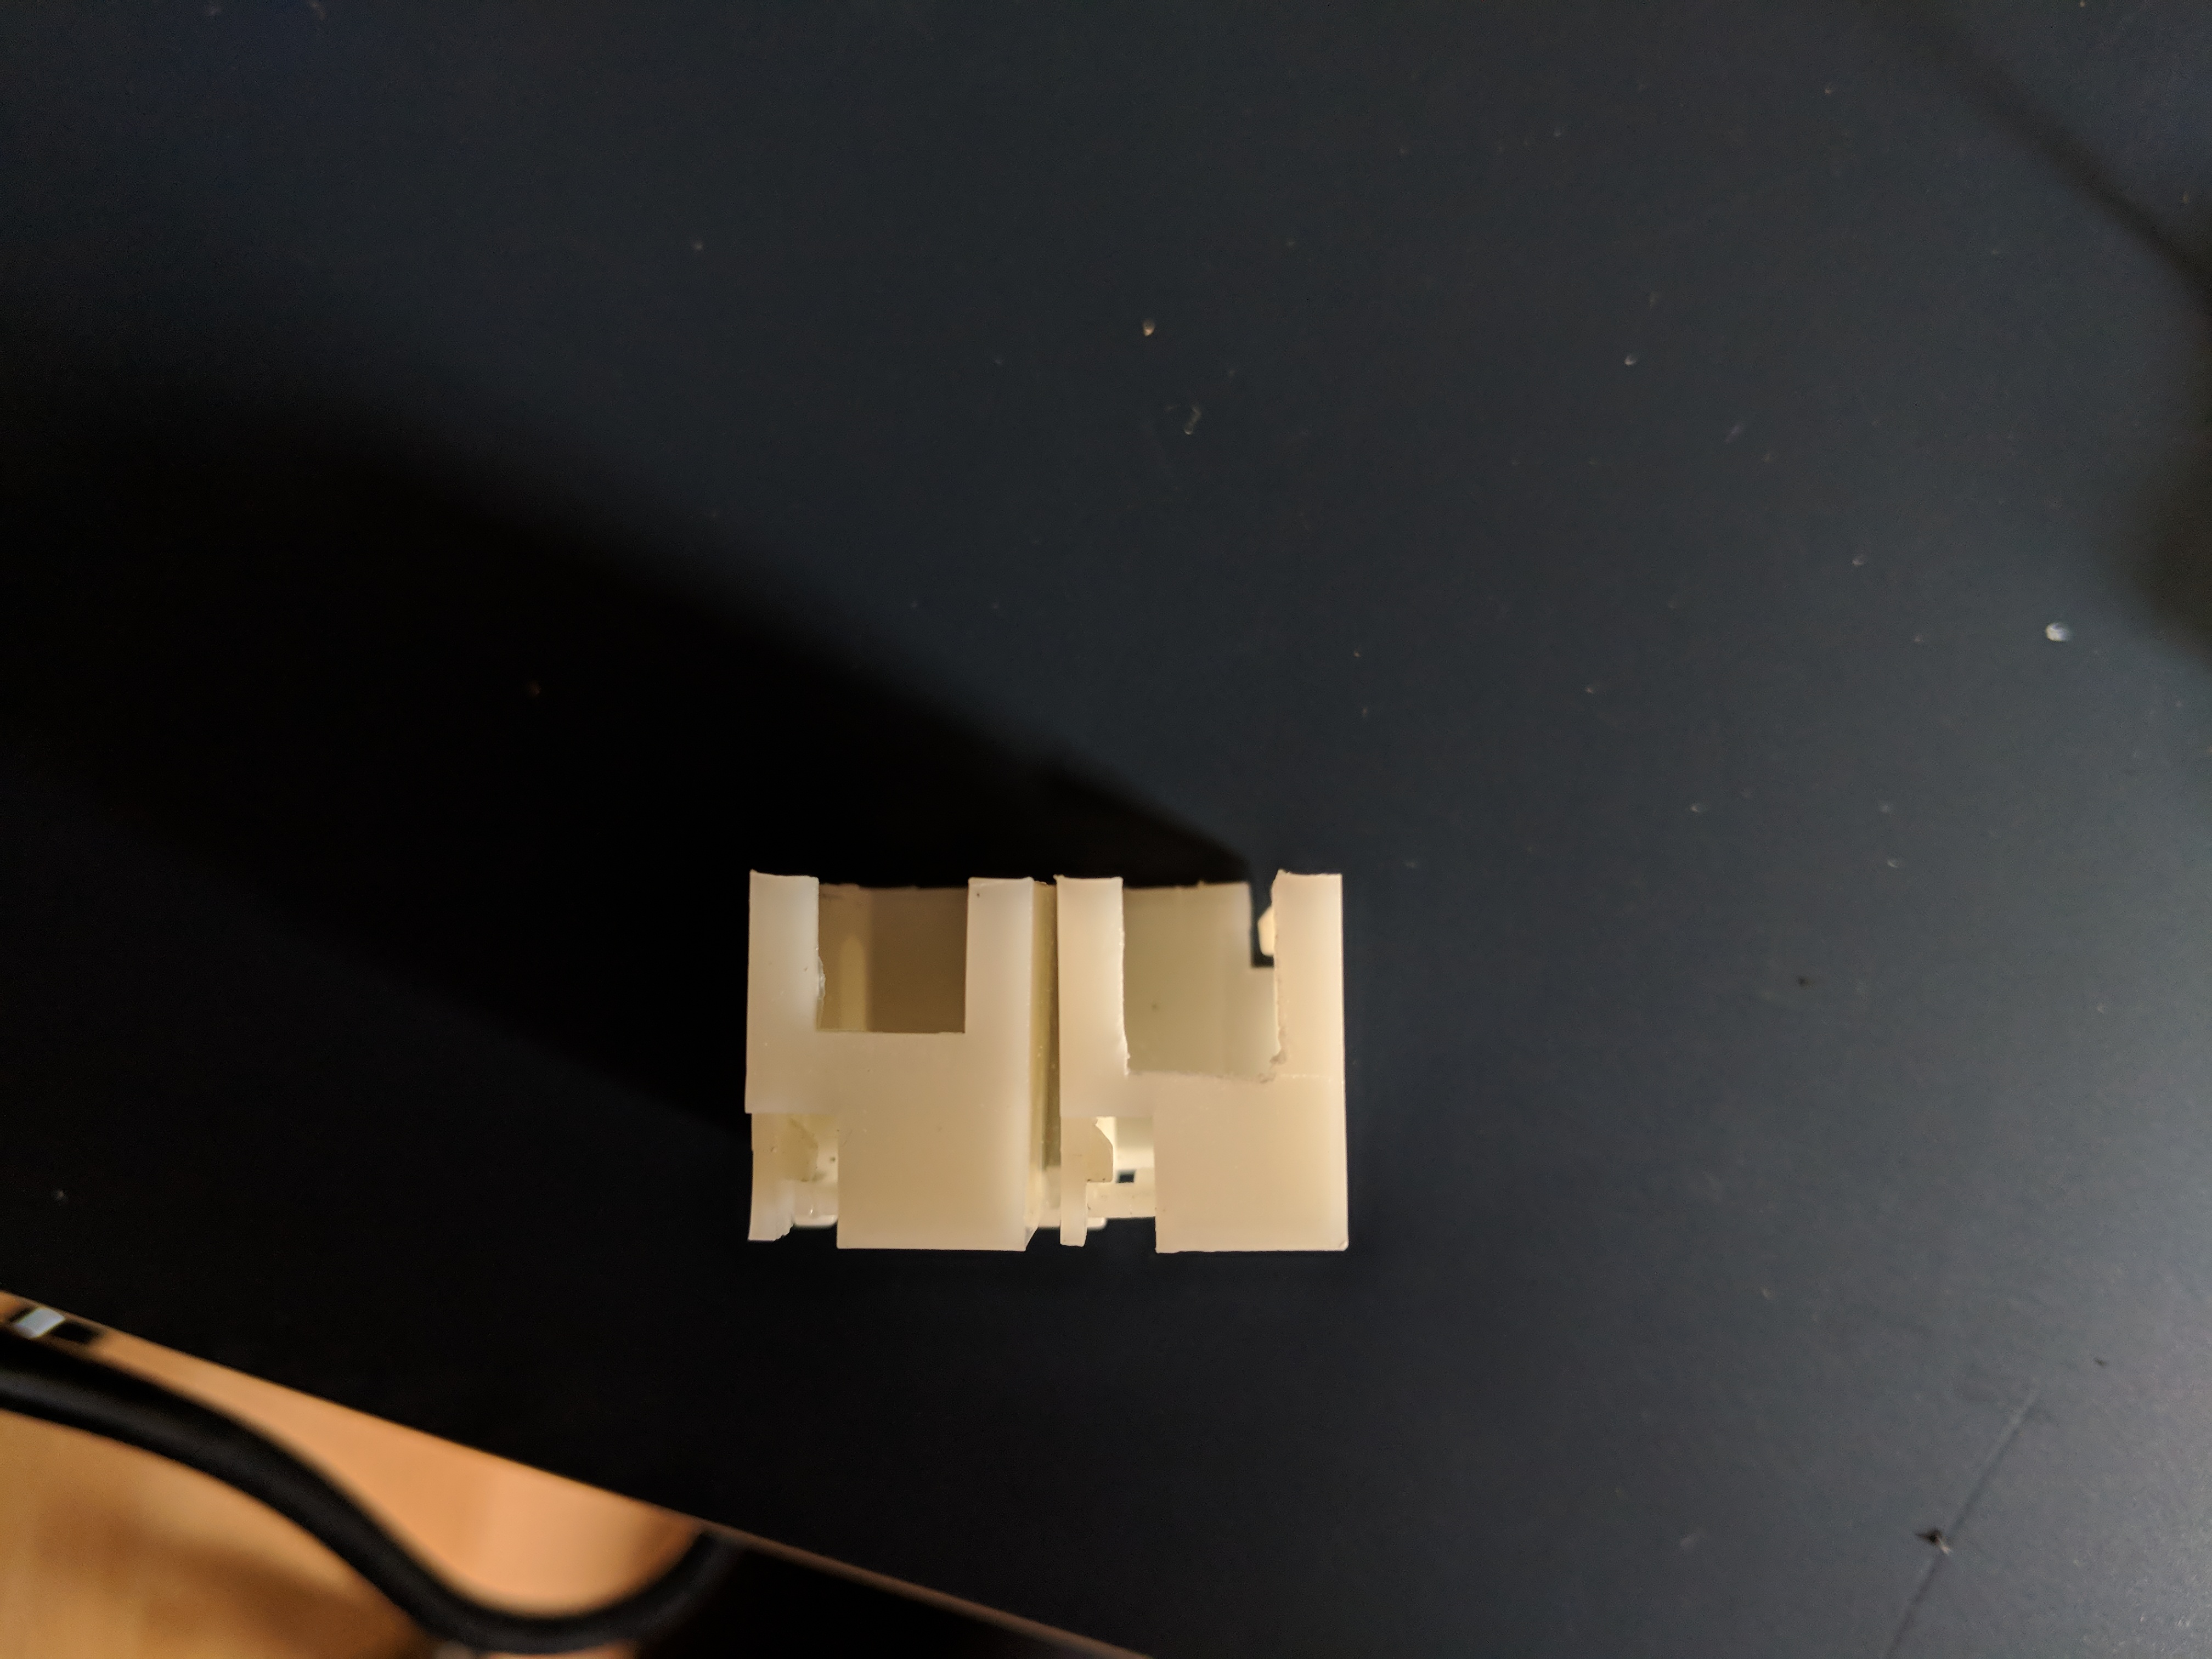
As the original switches don’t have an NC terminal, the new Cherry switches did not fit into the housing which attaches to the base of the fire buttons. I had to file the opening slightly to make some space for both terminals. After the switch fit inside the housing, I bent the NC terminal downward to avoid it making contact with other switches.
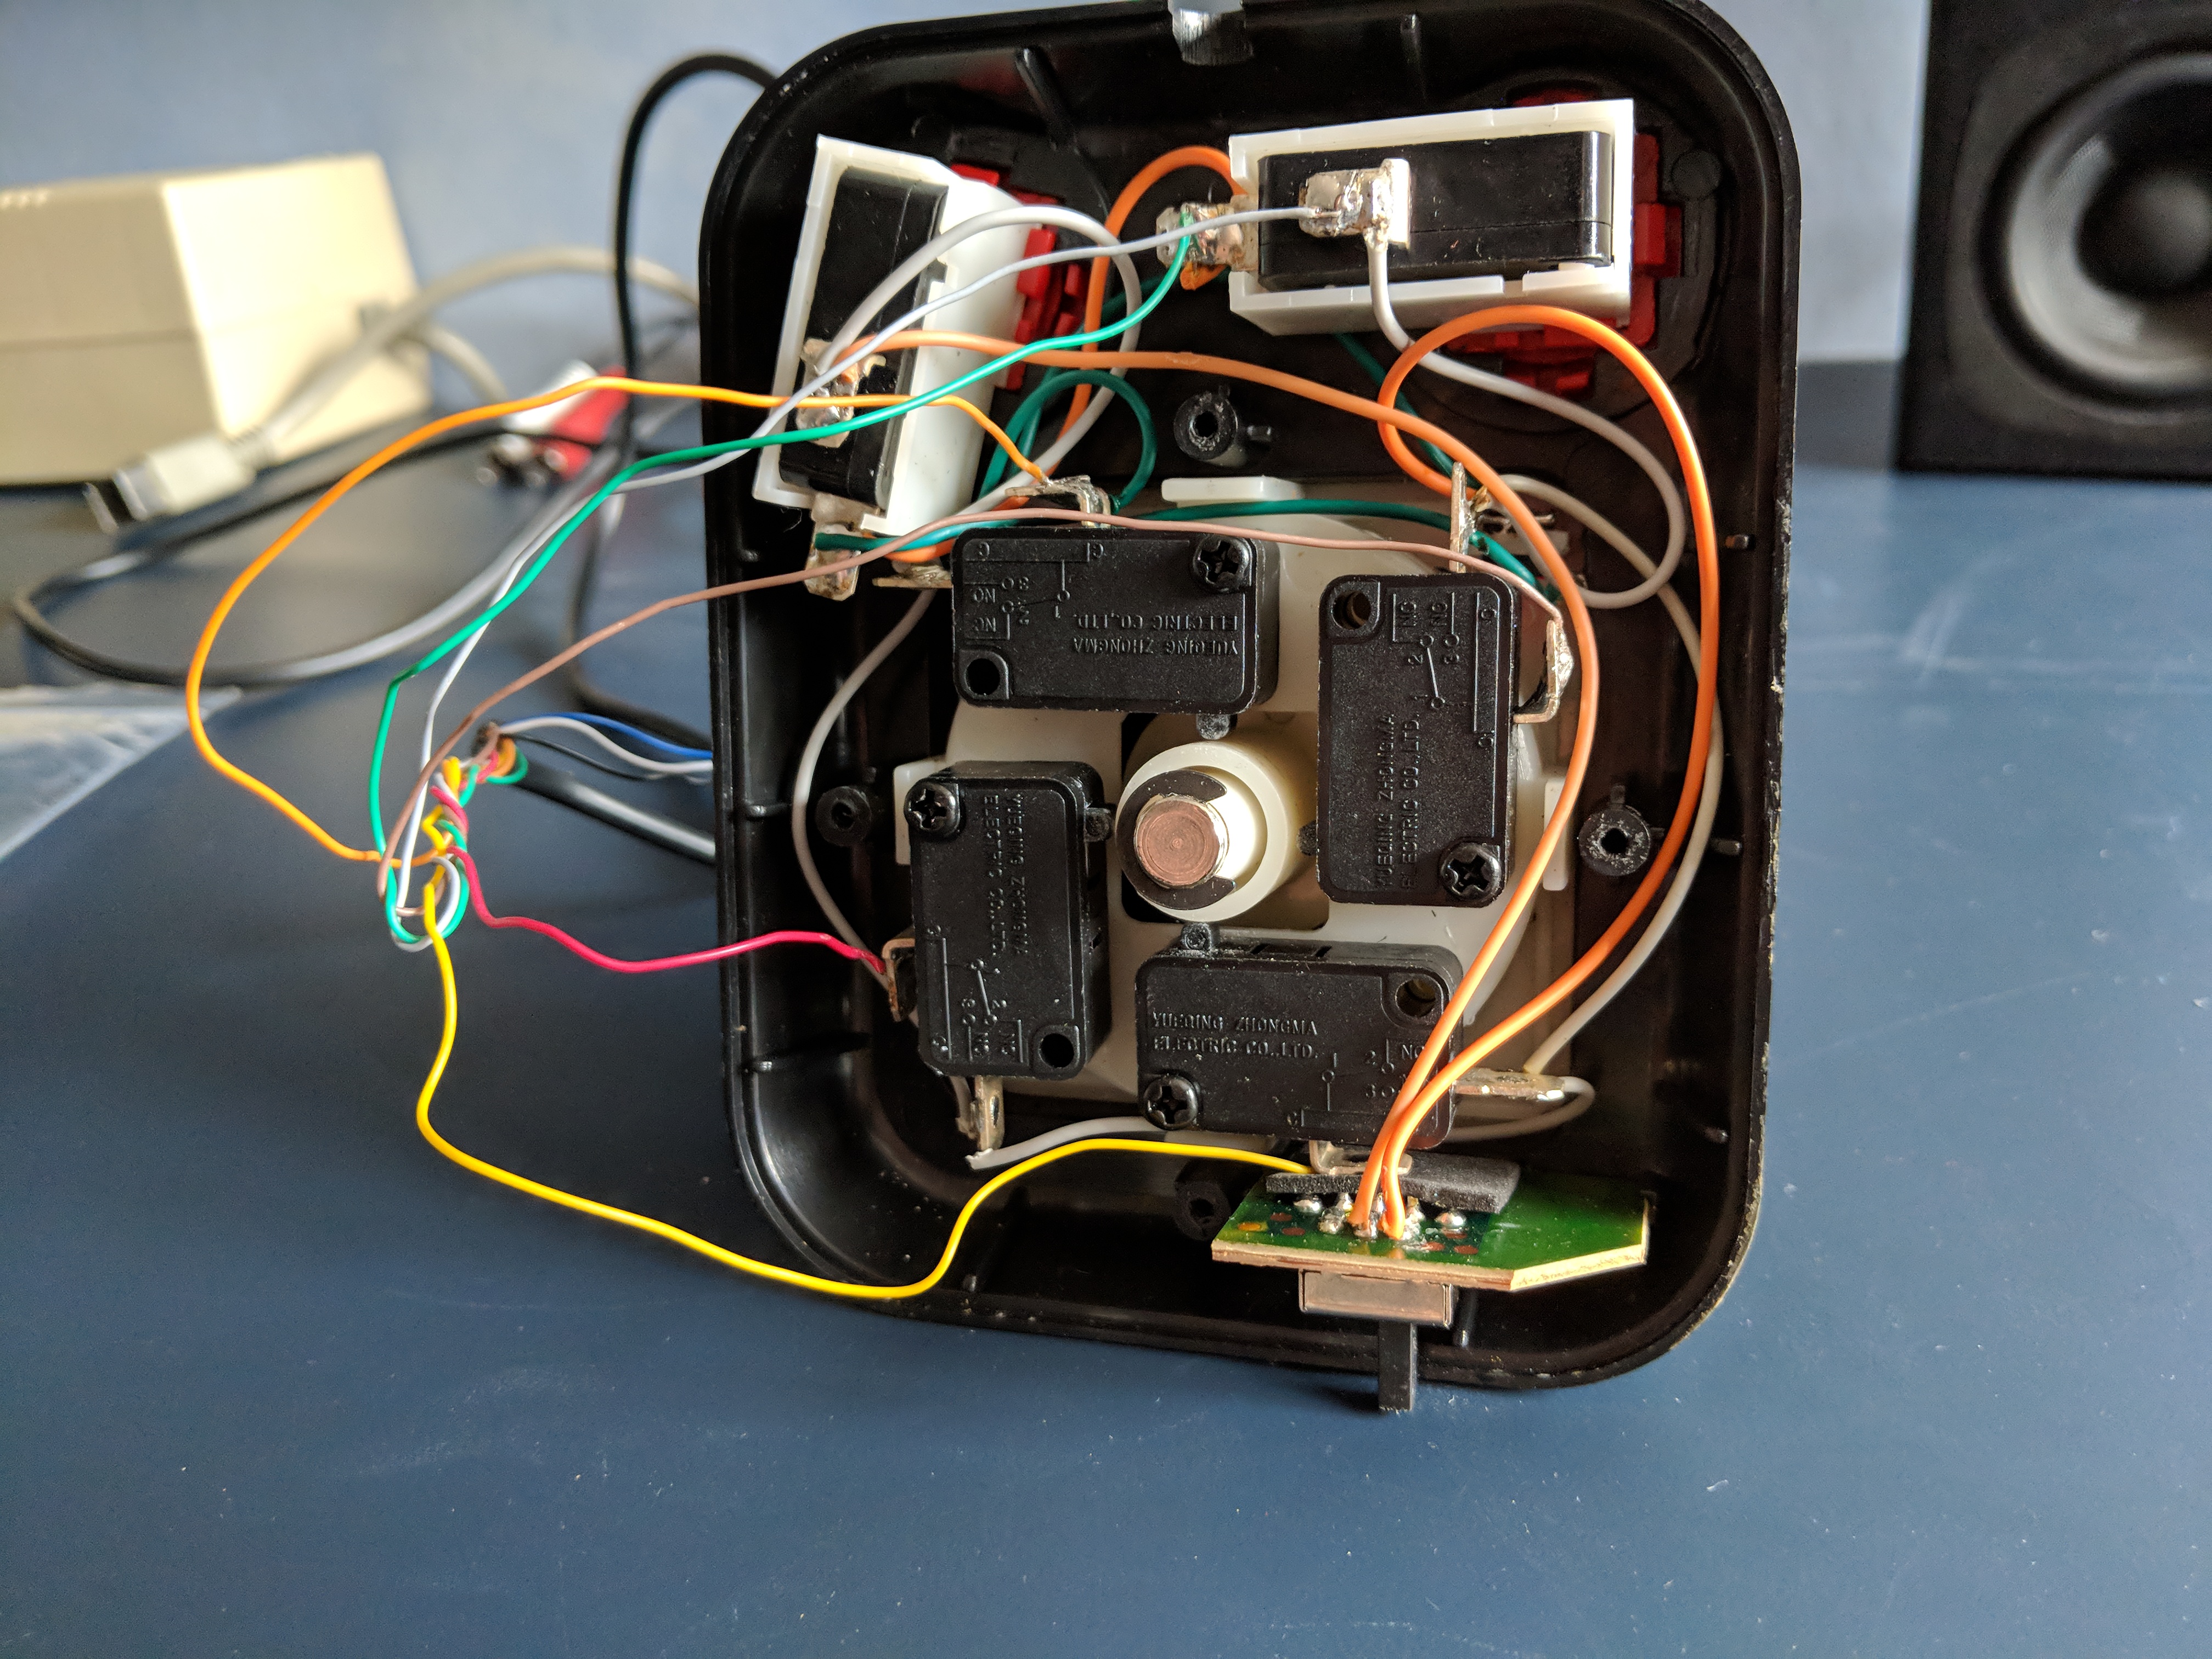
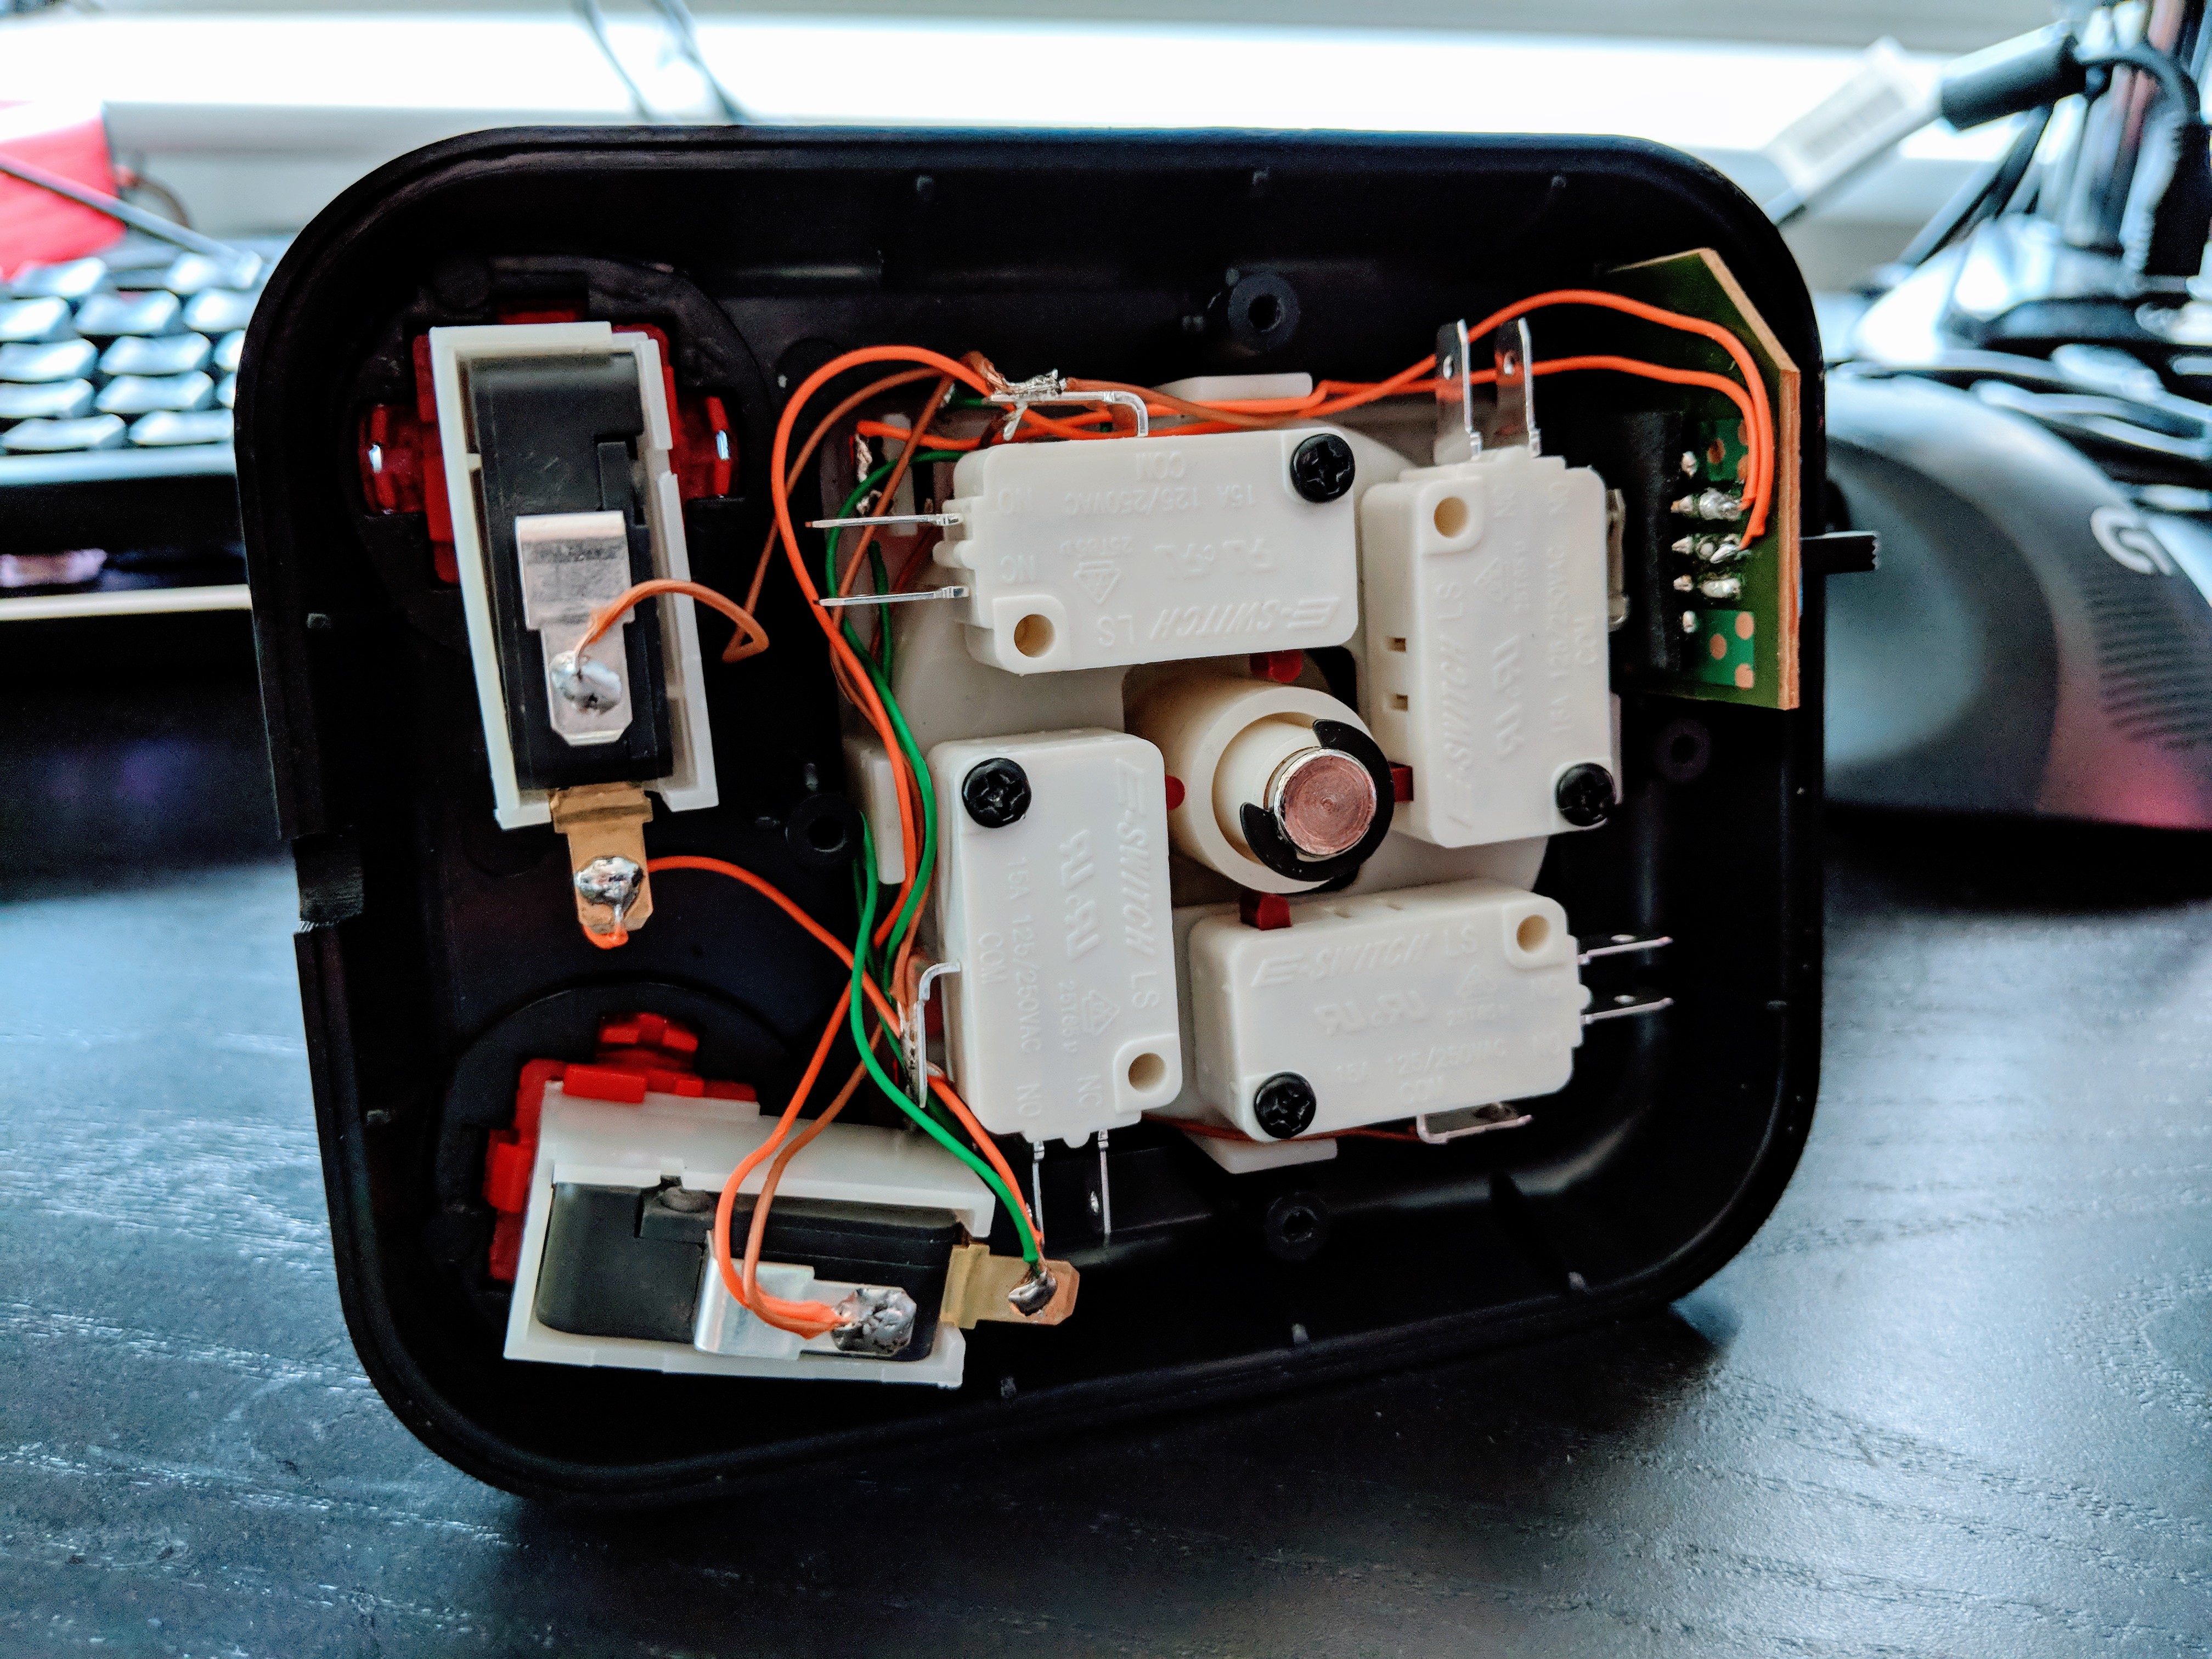
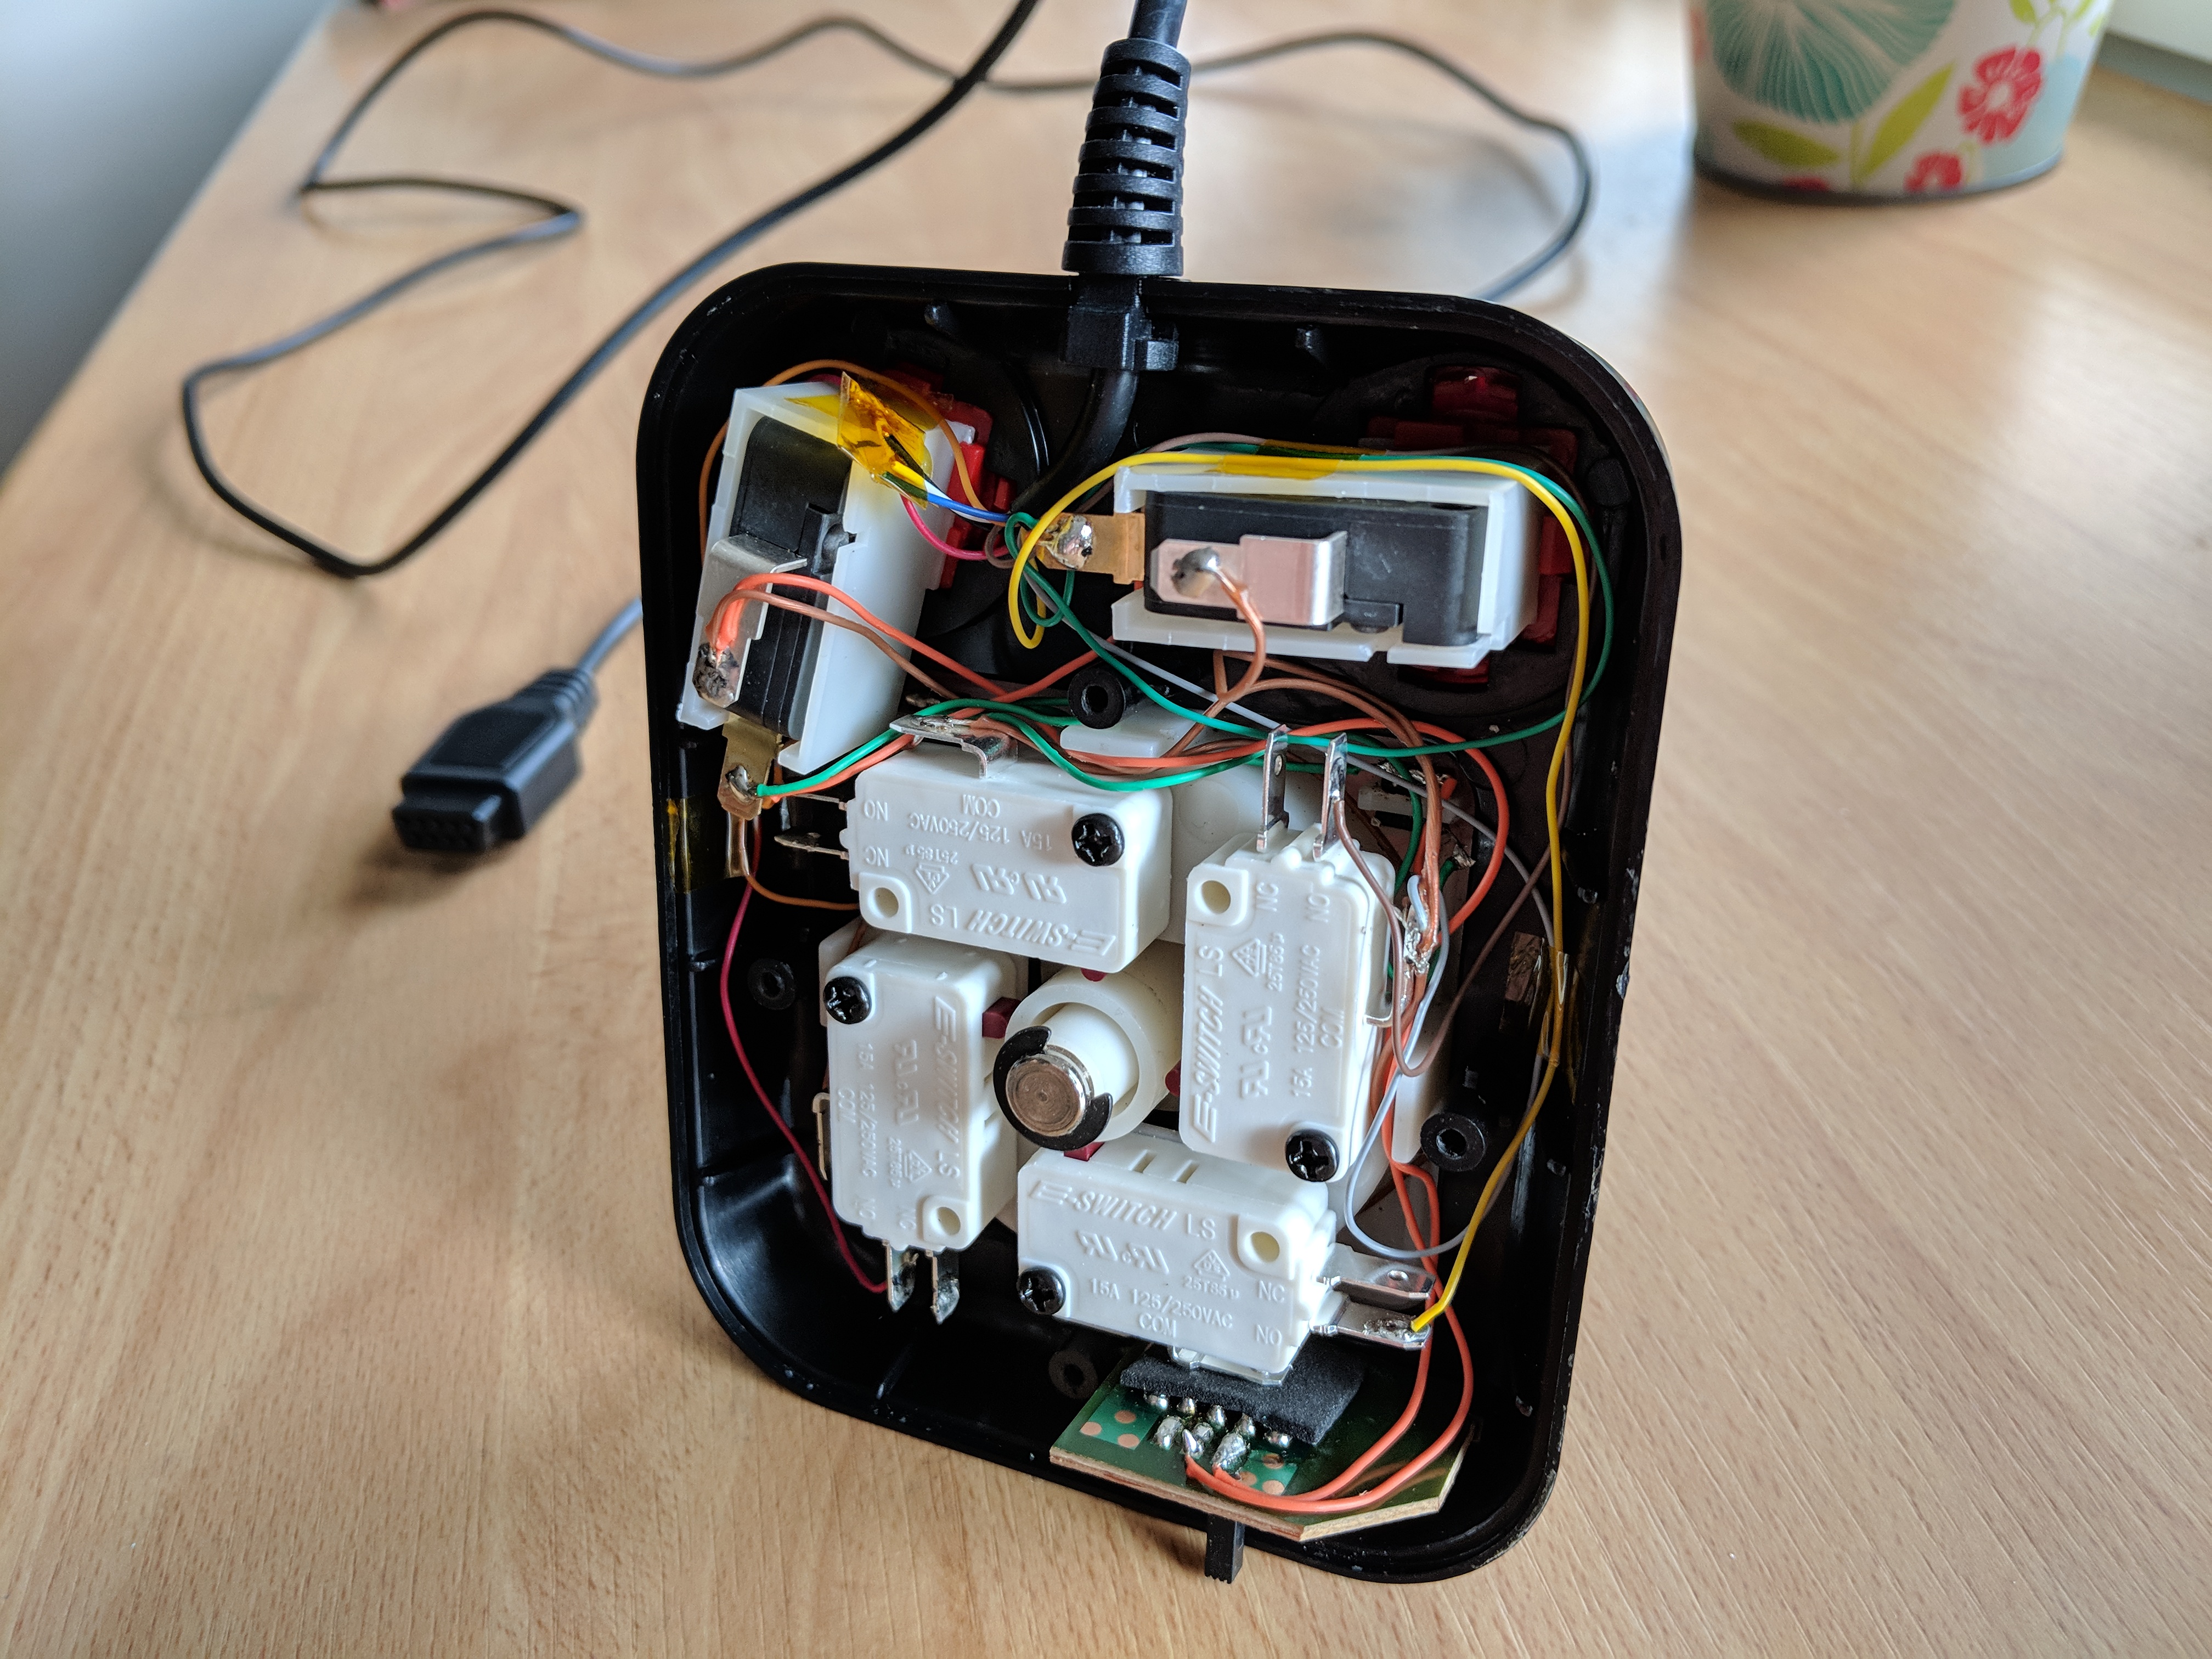
With all the mechanical tuning out of the way, I moved ahead with re-doing all the internal wiring. First, I soldered wires between all the common terminals to provide ground to all switches. The two triangular switches get their ground through the switch, so they can be disabled when needed. Getting wires pinched between the screw posts is pretty easy, so I tried to route the wires in a way to minimise this risk. On the lower half of the casing, here are also posts which will push against the fire button microswitches - it’s best to avoid routing wires over the top of the switches.
The wires inside the cables are rather thin, so I’d rather replace the whole cable with something more durable. However, I don’t want to use off-the shelf DB9 connectors as they seem to always have a metal shield - that’ll make it way too easy to short the VCC pin in Amiga joystick/mouse ports to other pins and potentially burn a CIA.
The easiest way to find suitable replacement cables would probably be purchasing a joystick extension cable and cutting off the male DB9 plug at the other end. I opted to re-use the original cables for now, but will try to find long enough replacements that I could swap them with later.
Finally, I applied some bits of Kapton tape to hold some of the wires in place to avoid them moving around too much and stressing the solder joints.
Now both of my Competition Pros are back in full health and ready yet again for some intensive retro gaming!