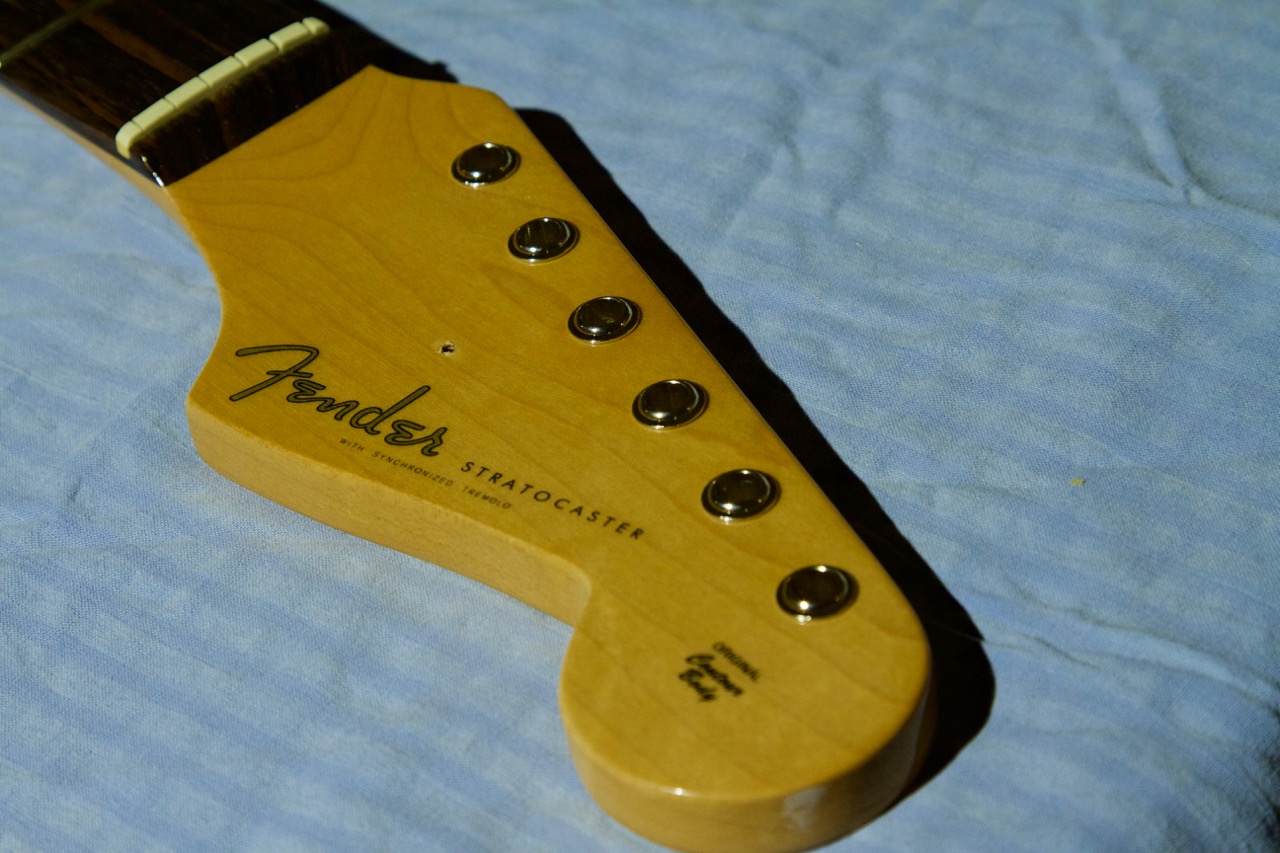
Fender “Classic Player 1959” - part 2: Tuners, tremolo and joining the body and neck

With a suitable neck and body acquired, it’s time to start adding some hardware to them. The most important parts of course are the tuning machines and the bridge as together they hold both ends of each of the six strings. Poorly fitting parts or loose tolerances can drive a player mad if the guitar constantly wanders out of tune or doesn’t intonate properly.
Alignment problems between the neck and the body can also cause all kinds of strange problems later on. Some basic measurements are quite easy to do, so it’s useful to at least rough out the alignment in the building phase to have a better starting point when doing a full setup as the final step.
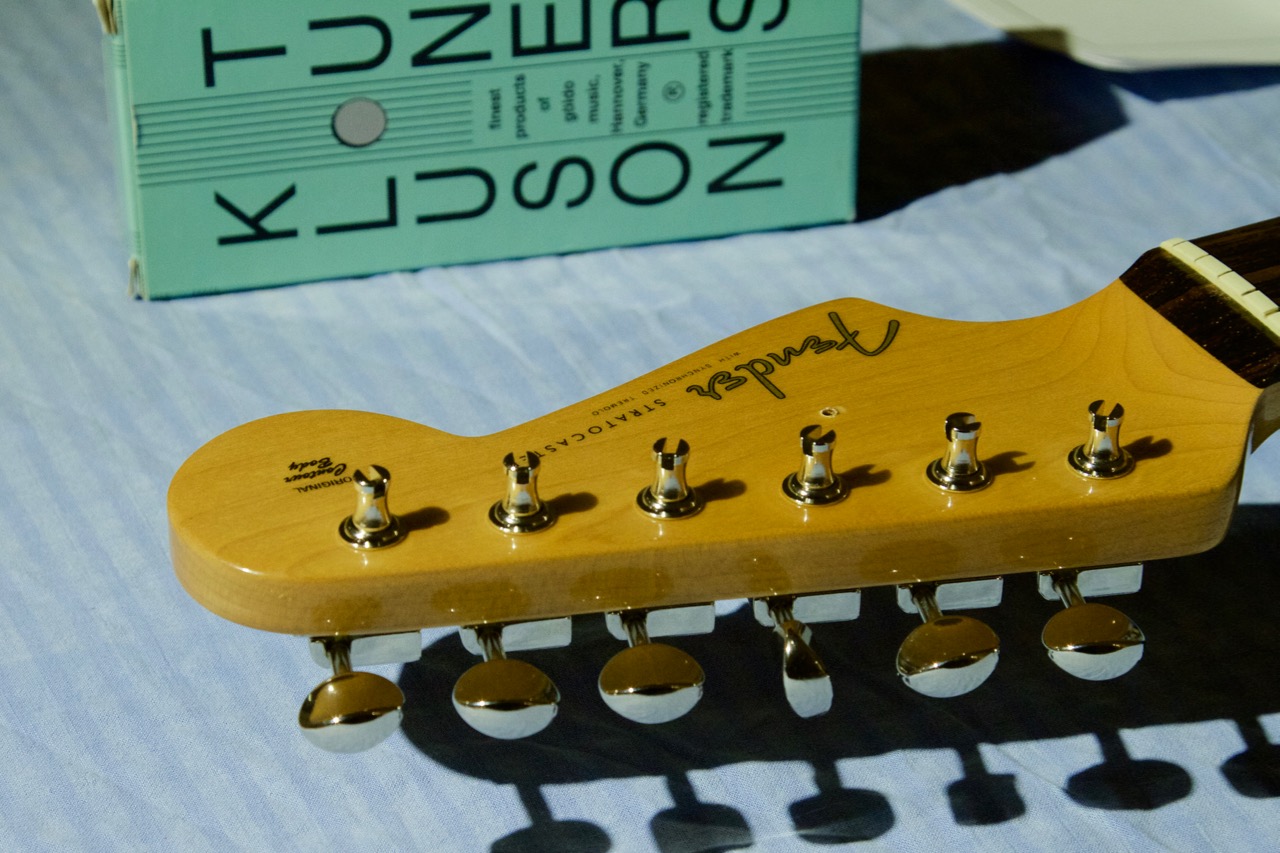
Kluson is a name that gets thrown around a lot in discussions about tuning machines. The original company no longer exists, but the brand name is still owned by WD Music who use it to sell vintage-styled parts in the US. However, here in Europe it appears to be licensed to a german company called Göldo. I discovered that this is the same company that manufactures Duesenberg guitars, so that certainly puts high expectations for their version of Kluson parts.
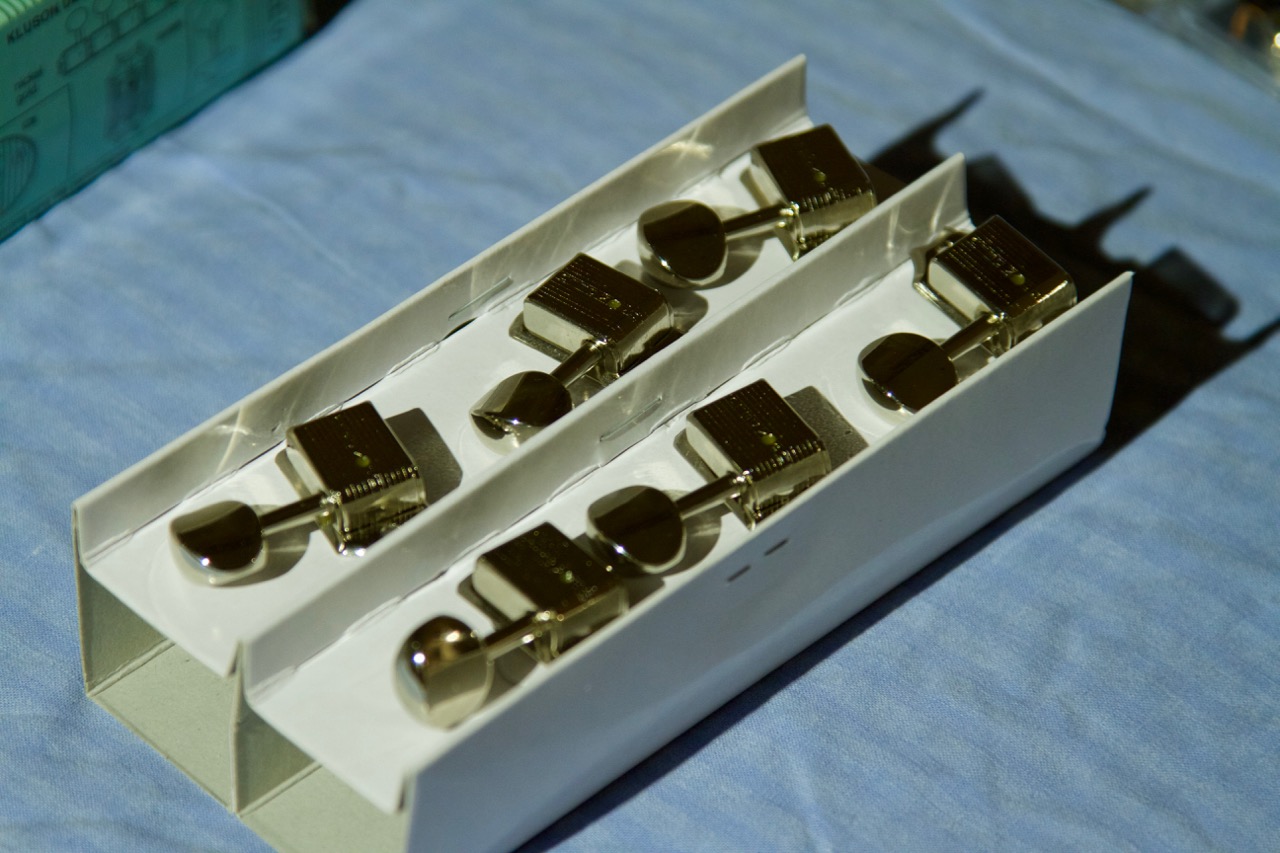
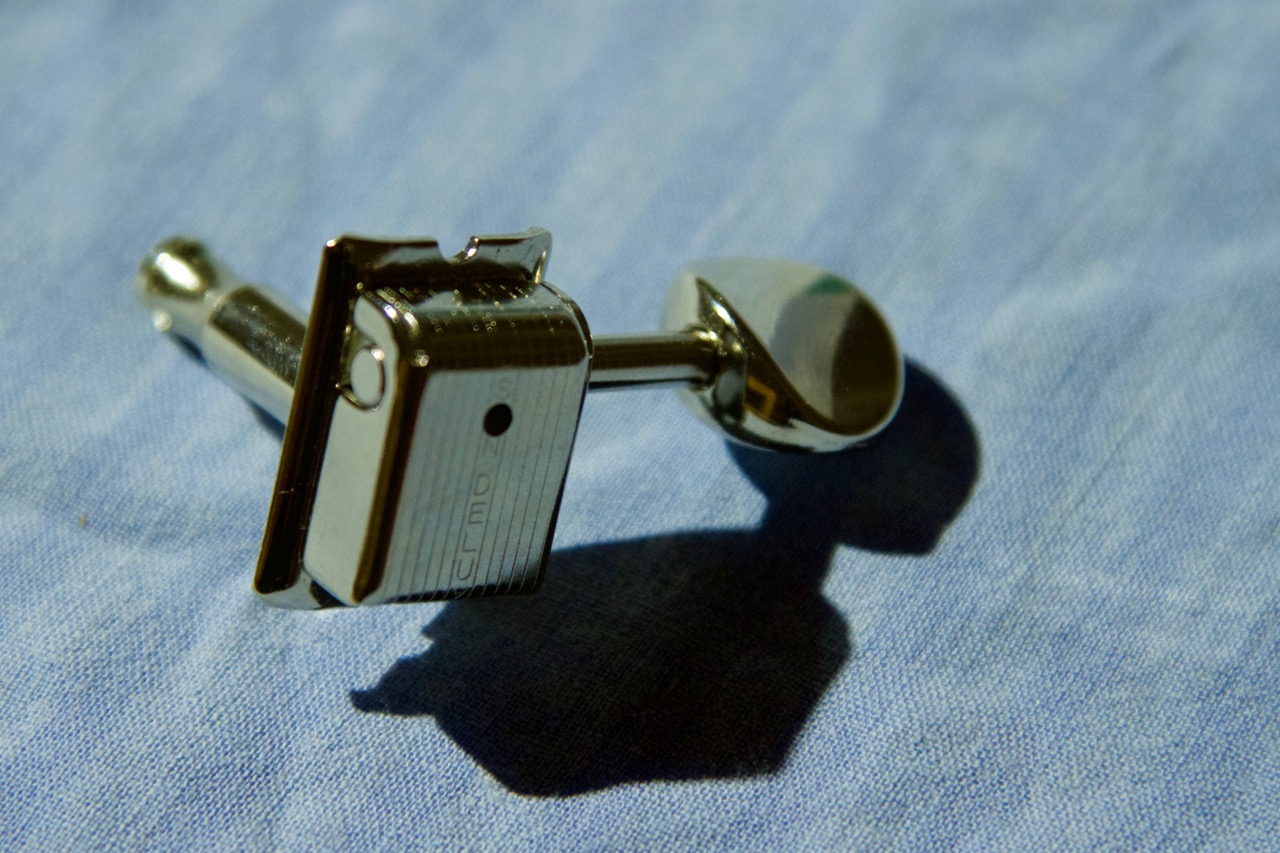
A local music store carries some Göldo parts so I purchased a set of M6VOC nickel finished vintage style tuners from them. They have the single text line “KLUSON DELUXE” down the center, 1:15 gear ratio and split pegs. The inside cover of the tuners say “JAPAN”, so most probably these are actually manufactured by Gotoh. They do have a very nice and solid feel to them.
As the neck used to have vintage style tuners on it, I assumed that these would be an easy drop-in replacement given that the original bushings are still in place.
Nope. No such luck.
The Kluson tuners have a slightly larger peg than the original ones, so they don’t actually fit through the bushings. After some measuring and googling, I came to the conclusion that the Fender bushings (005-3020-000 according to Classic Player 60s service manual) that came installed on the neck have a 6mm metric inner diameter and 11/32" imperial outer diameter. The Kluson tuners appear to have a 1/4" peg, which is 6.35mm.
But hey - the tuners came with a set of bushings, so I’ll just press the old ones out and replace them with the ones Kluson provided. Getting the old bushings pushed out of the headstock was fairly easy and putting new ones in was even easier.
A bit too easy, actually. They practically fell in. When I turned the neck upside down, a few fell out. Well that can’t be right.. Some more measuring and googling ensues.
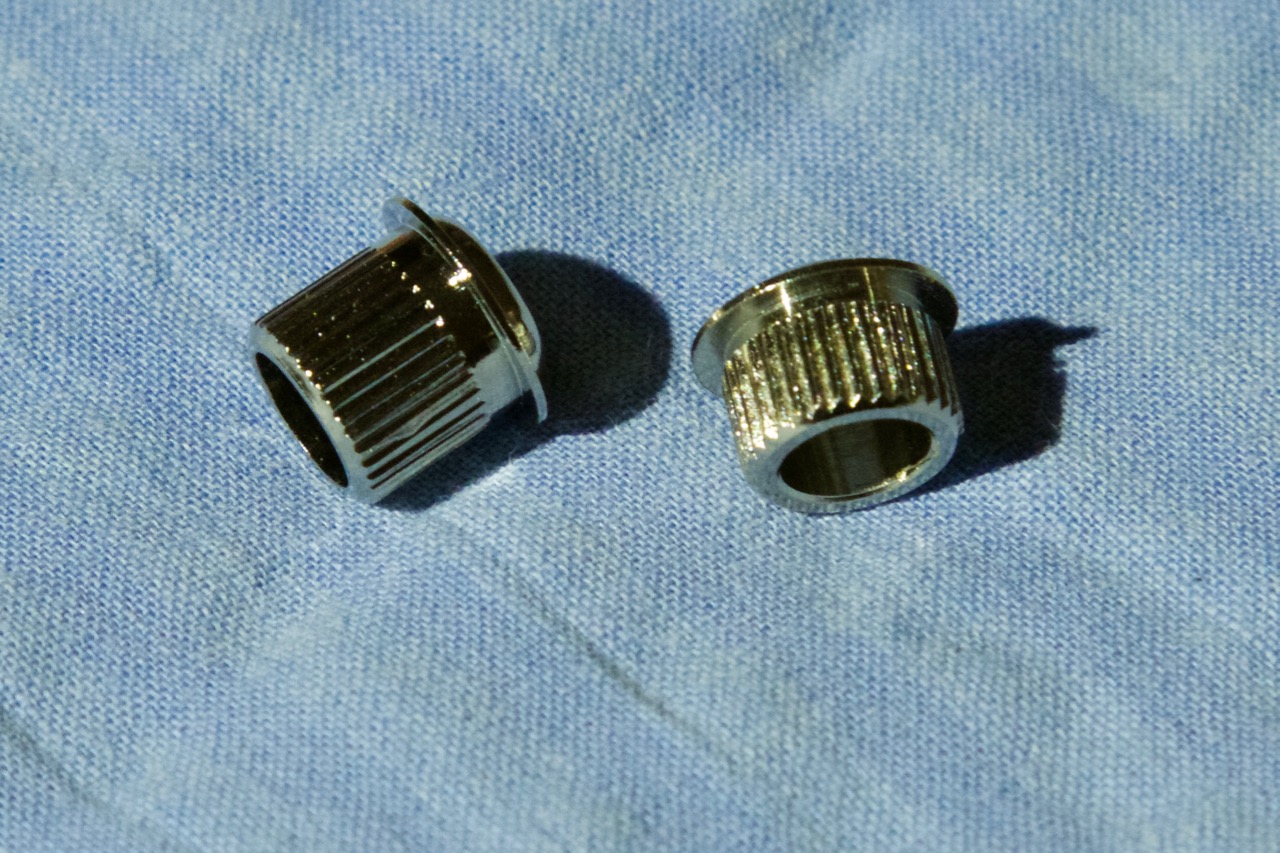
Apparently the vintage-accurate bore size for the tuner holes on the headstock is 21/64" and the Kluson bushings are designed for exactly that, making them 1/64" too small for the neck. So I guess I need to try and find yet another set of bushings, then.
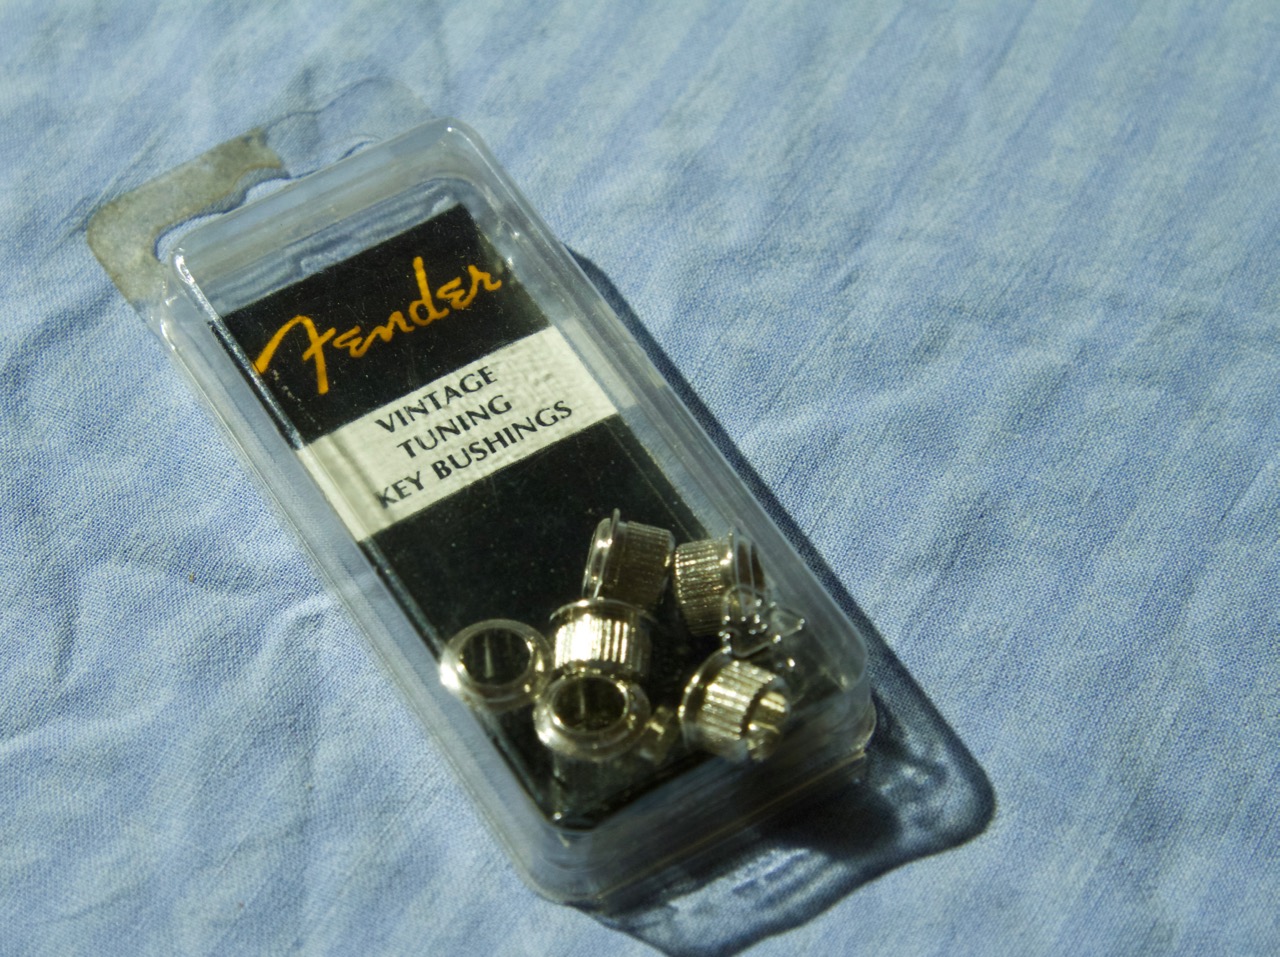
After going through some more Fender service manuals and the websites of various parts dealers, I found out that Fender part number 099-4946-000 should be exactly what I need - 1/4" on the inside and 11/32" on the outside. The same local music store fortunately had a set available at their other location and got them for me to pick up a few days later.
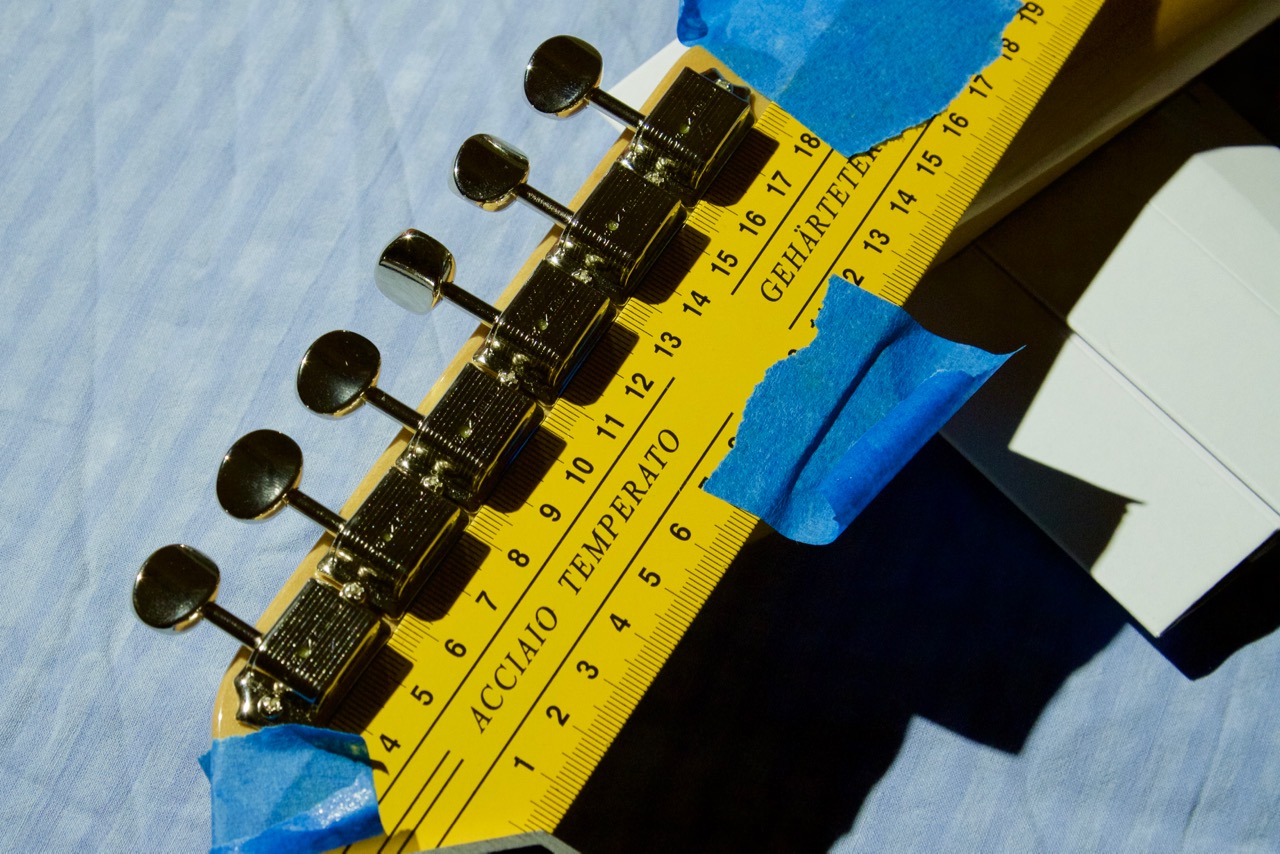
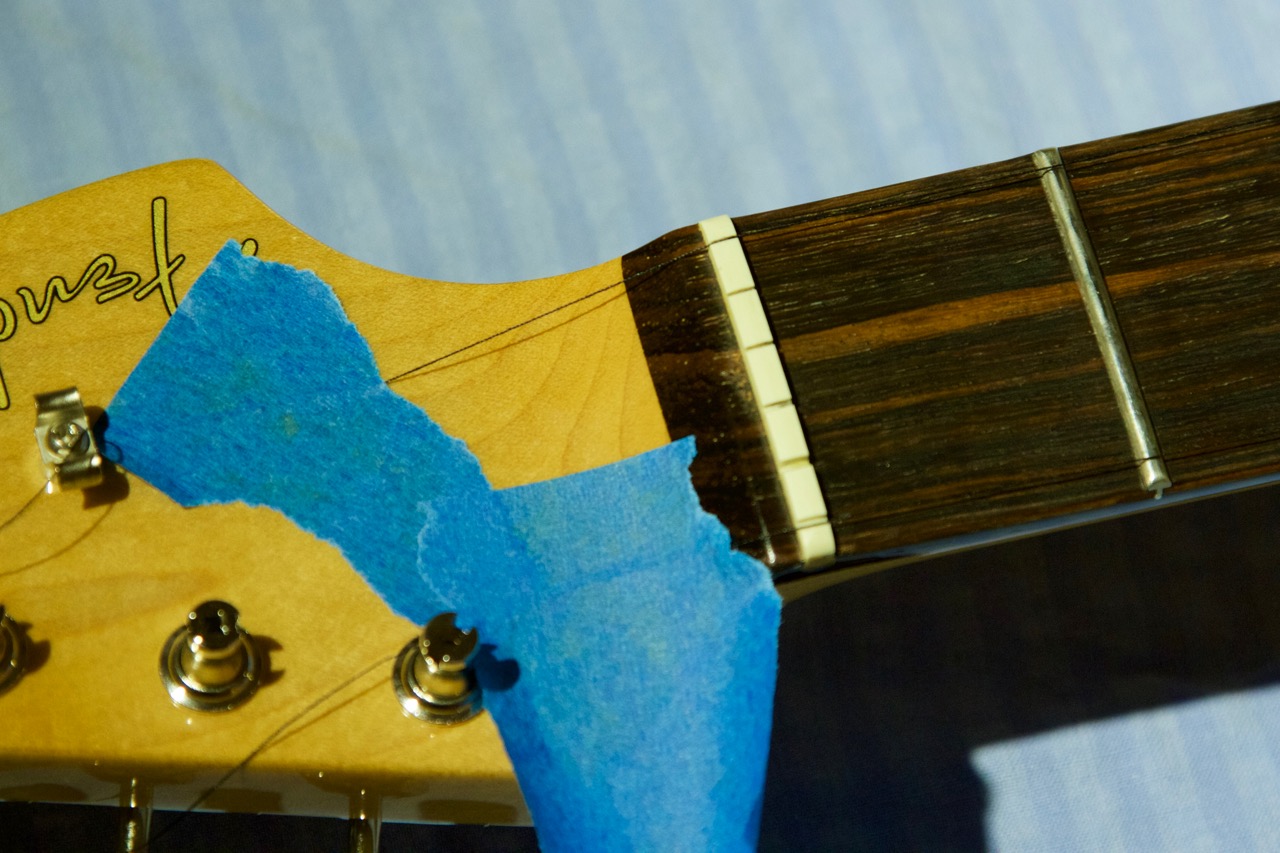
Success! The bushings are a perfect fit. As I suspected, because the headstock was originally populated with vintage-style tuners, the screw holes drilled at the factory are already in correct positions. After dropping the tuners in their holes, I used some masking tape to attach a right angle alongside the tuners to line them up and carefully tightened up the screws.
With the tuners in place, I finished the neck by attaching a string tree to its hole on the headstock. The neck is now complete, so it’s time to put it aside for the time being and start working on the body.


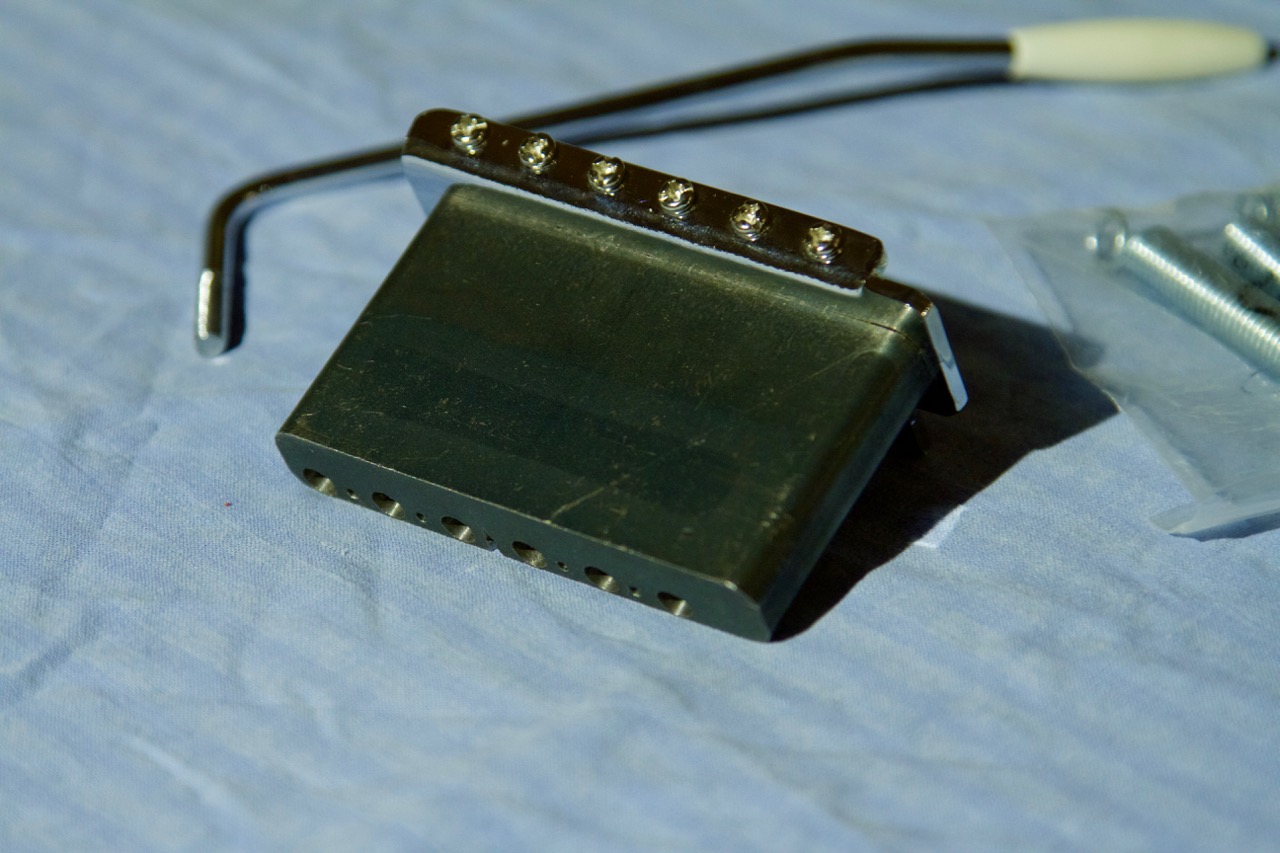
The first thing I wanted to attach to the body is the tremolo unit. I went again for Kluson/Göldo, and got the TV10S vintage tremolo with a steel block. For some additional vintage vibes, I decided to replace the plain bent steel saddles with the Fender Pure Vintage “pat. pend.” kit.
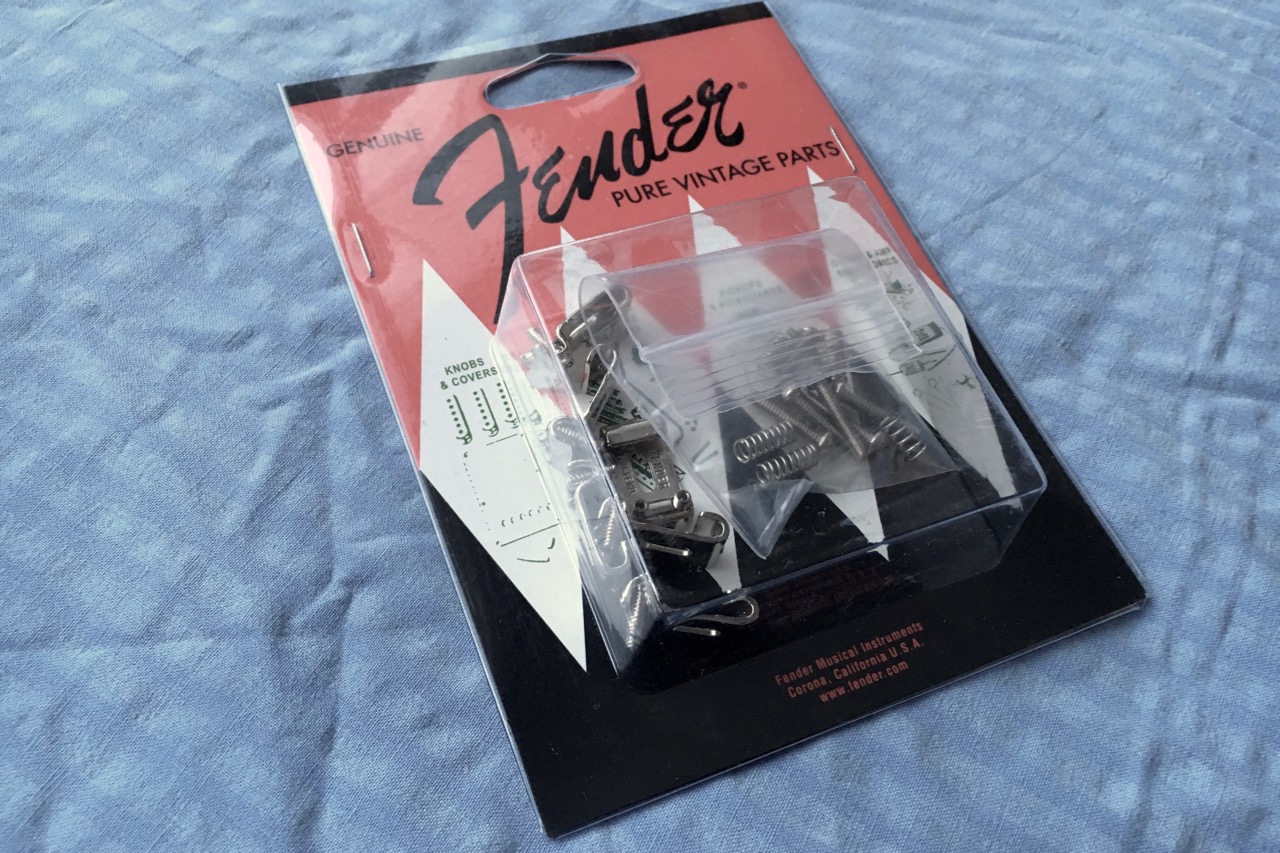
While all six of the Kluson saddles had identical screws and springs, the Fender ones had two saddles with shorter set screws for the E-strings. The kit also had three different lengths of springs - the shortest ones for low E and G, medium for A and B and the longest ones for D and high E.

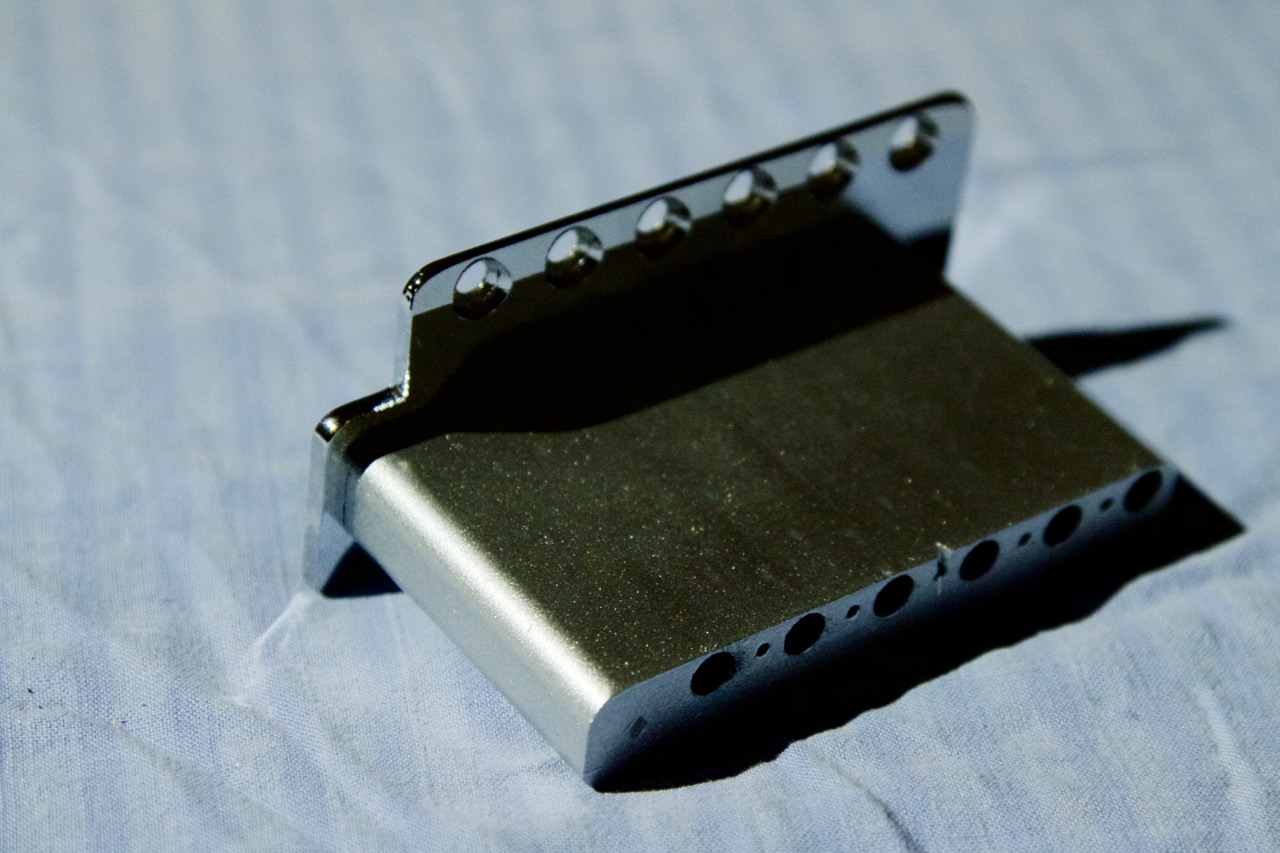
As one would expect for a tremolo advertised as “vintage”, the bridge plate has 2 7/32" spacing both for the strings and the six body attachment points. The steel block is nice and solid with a black finish made by bluing - a method commonly used for guns. Looks very similar to the Wilkinson blocks, so I’m guessing the tremolo could be manufactured by Gotoh as well.
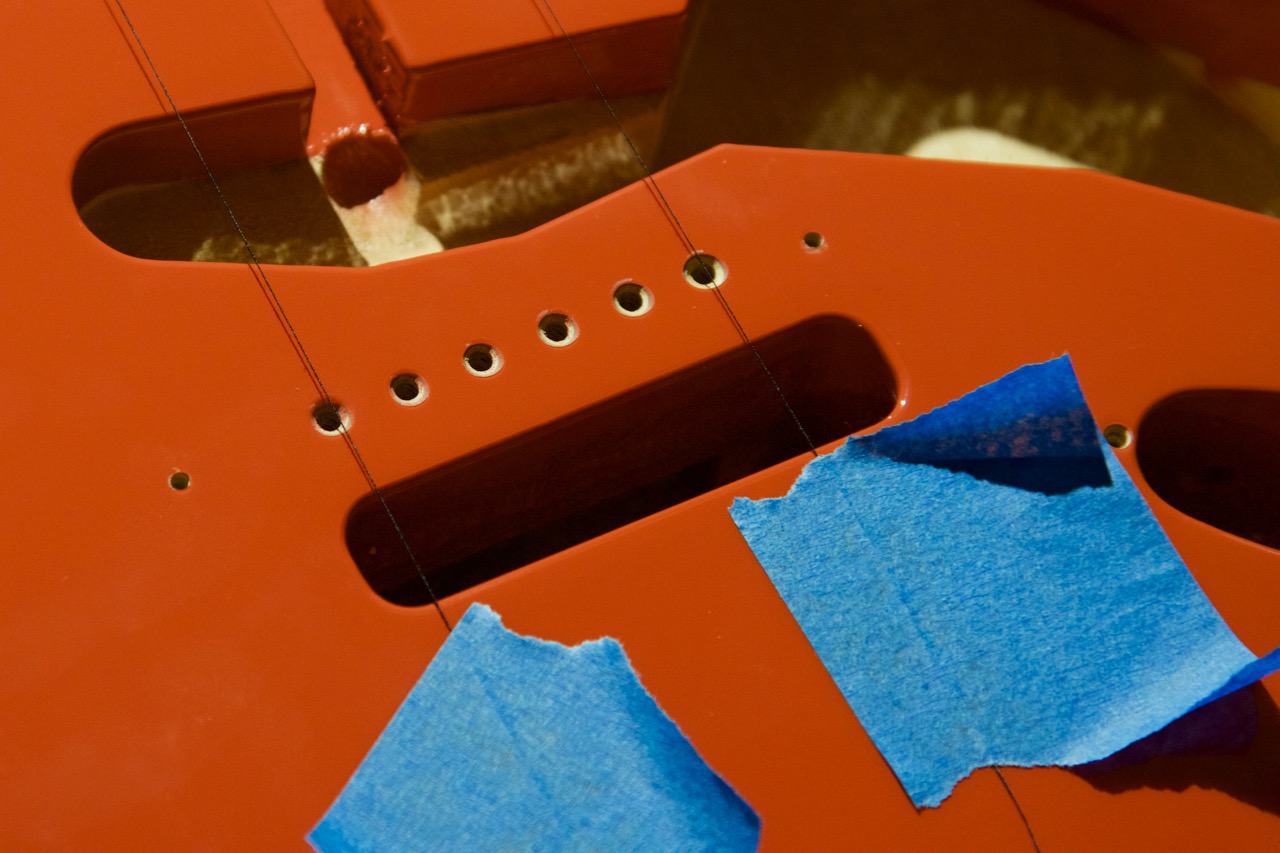
I had some silver spray paint left over so I gave the tremolo block a quick coat pretty much just to keep my “vintage OCD” at bay. Prior to painting, I taped off the surface facing the bridge plate and stuck some q-tips into the string “bullet” holes to avoid getting paint where it’s not needed.
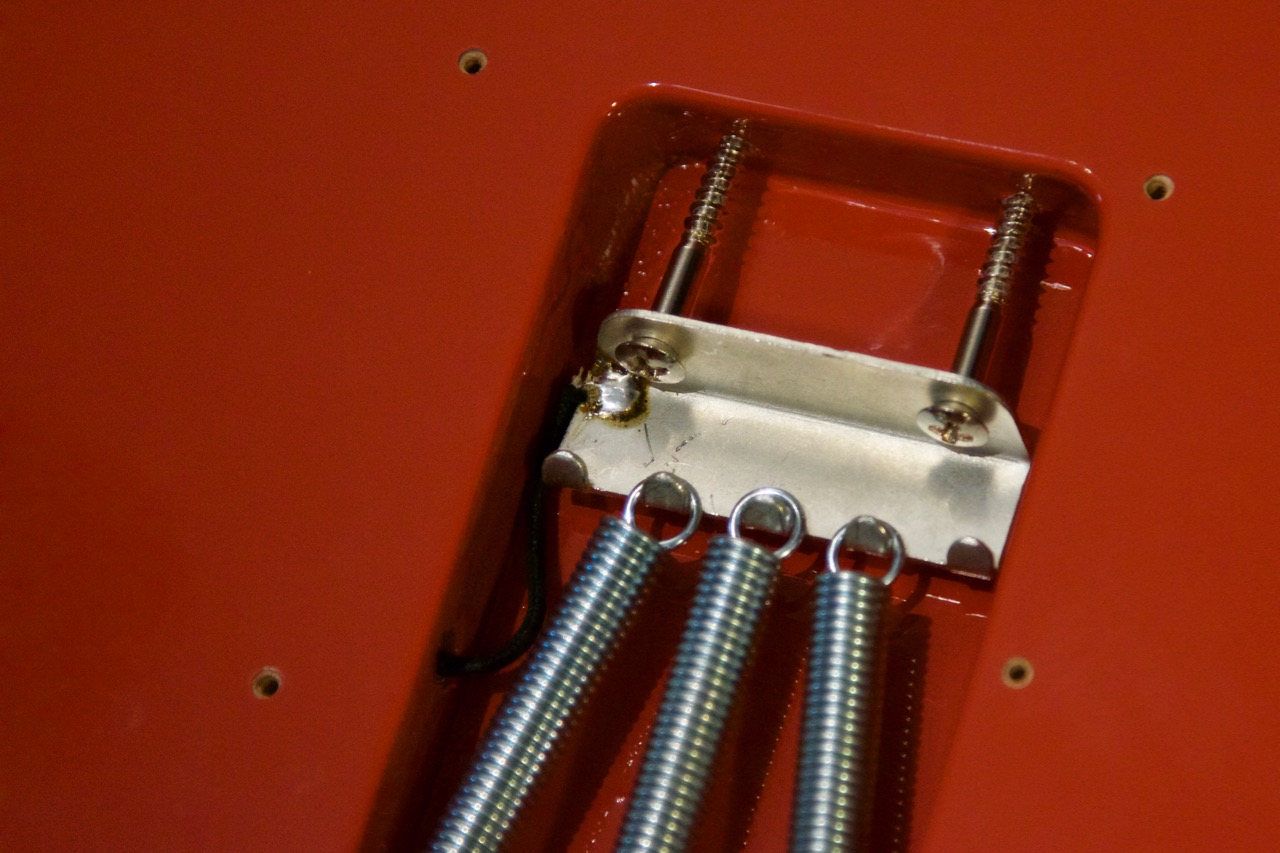
While attaching the tremolo claw to the body, the screws didn’t want to go straight for some reason. After scratching my head for a while, I realized that the claw provided by Kluson has a narrower hole spacing than the body. My parts bin had another one from GFS but it had the narrow spacing as well. Fortunately my ‘93 MIJ Squier also had the wider spacing so I borrowed that claw until I can get another one with the correct spacing.

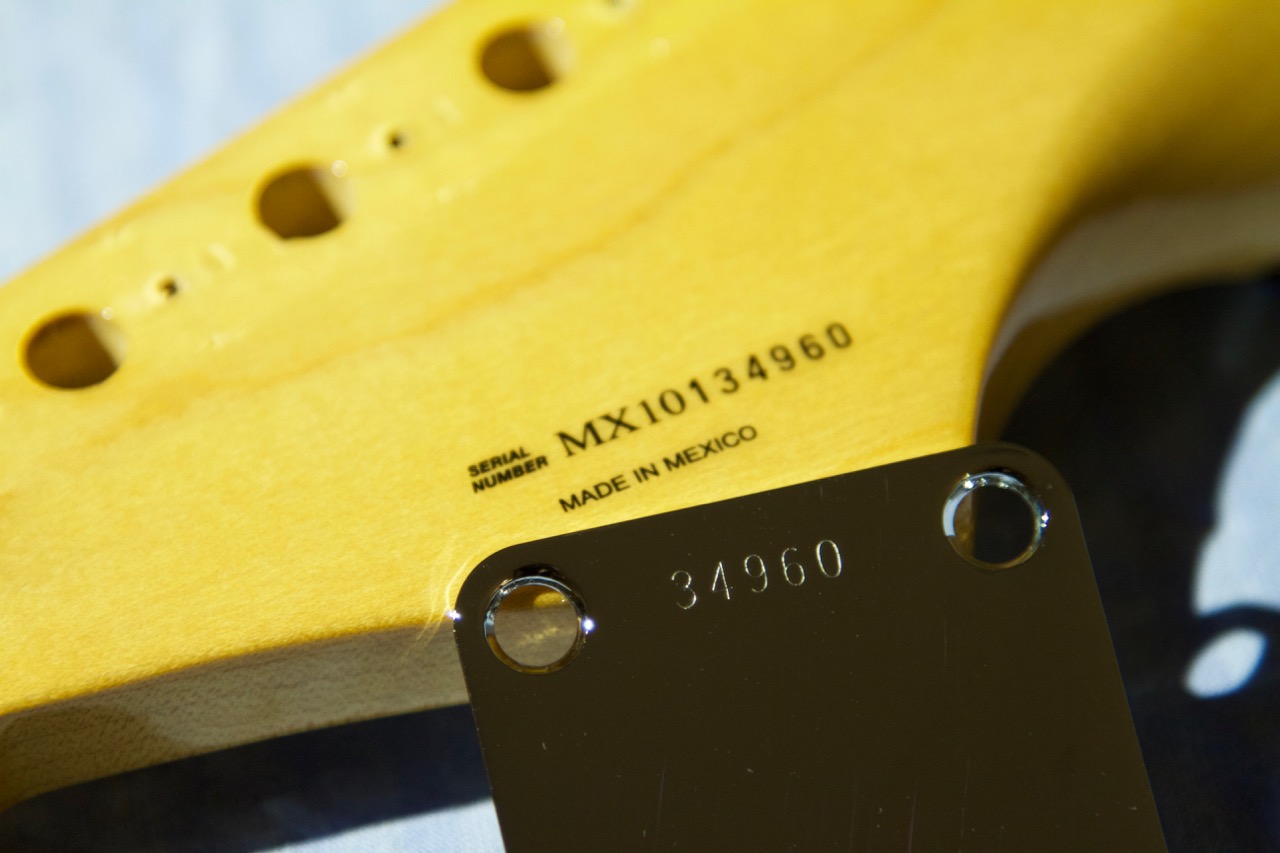
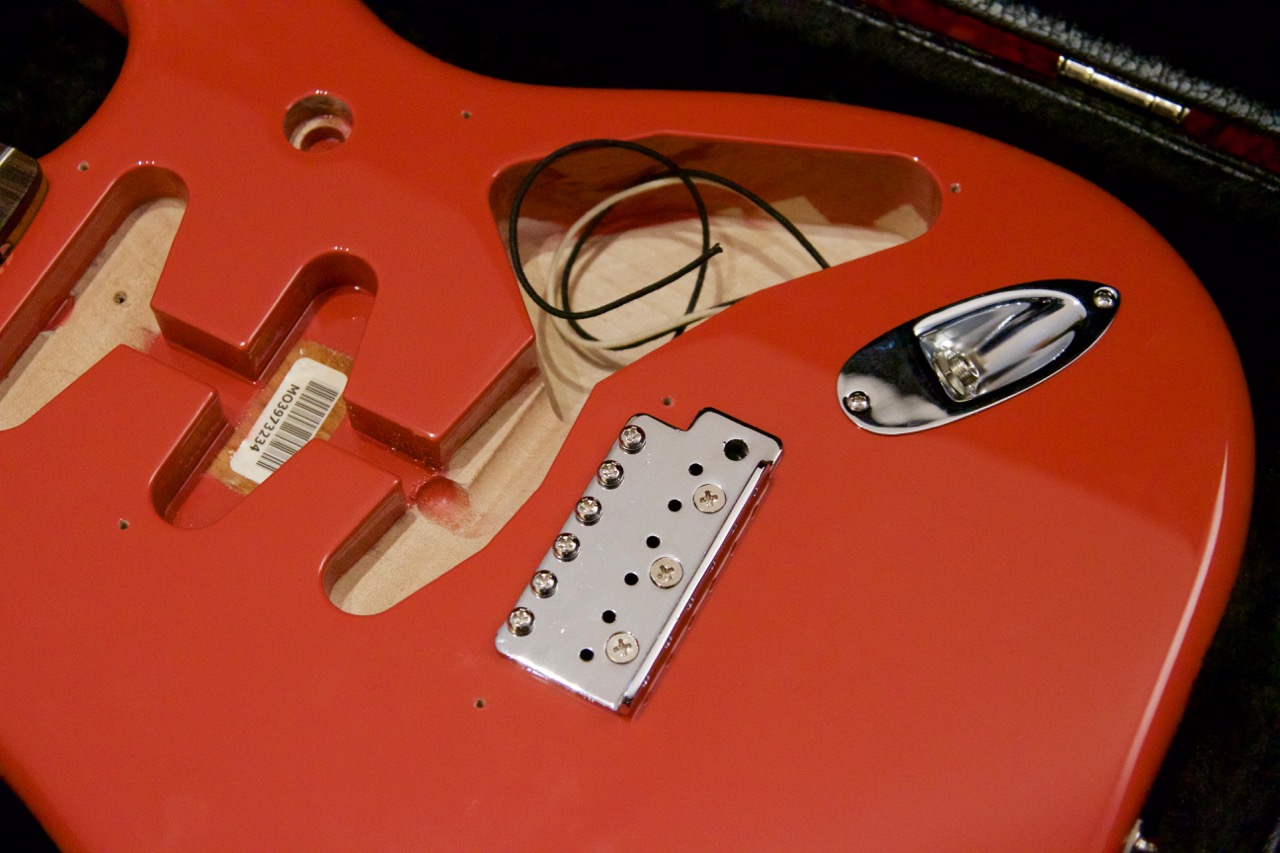
While ordering various bits and pieces like screws and a neckplate, I noticed that adding a custom 5-digit serial number tooled on the plain chrome plate costs very little extra. The serial number on the neck being “MX10134960”, the last five digits conveniently fit the actual range used in 1959. “Ah, what the hell - why not.”
Once I had the neckplate and a new set of neck screws at hand, I ceremoniously began joining the neck and body to each other. As I expected, they are a fine match but I did notice that on one side of the neck the gap was slightly uneven. My highly scientific method of using a piece of cardboard as a feeler gauge confirmed that the gap does indeed taper down towards the neck pickup . With some sewing thread and masking tape, I MacGyvered up a quick rig to approximate how the strings would go from the nut to the bridge.
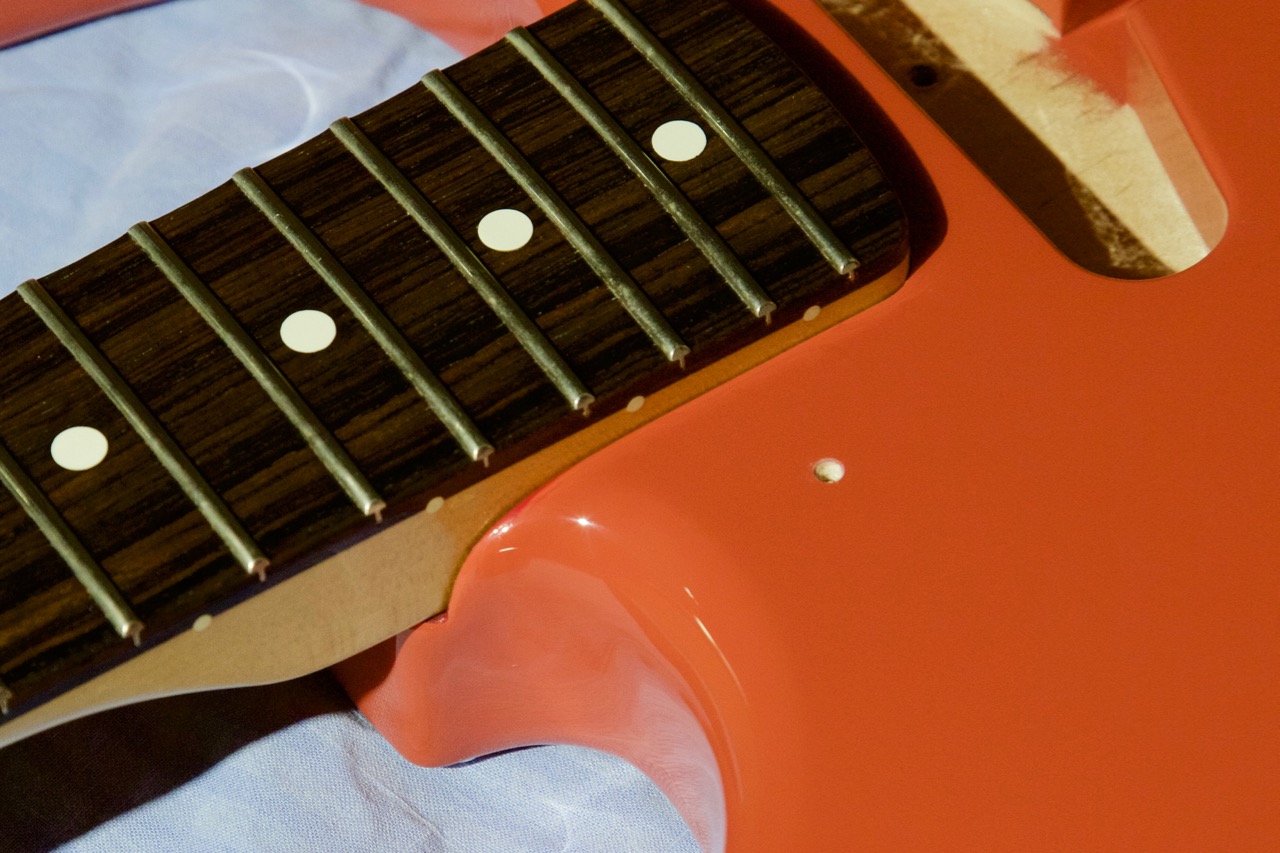
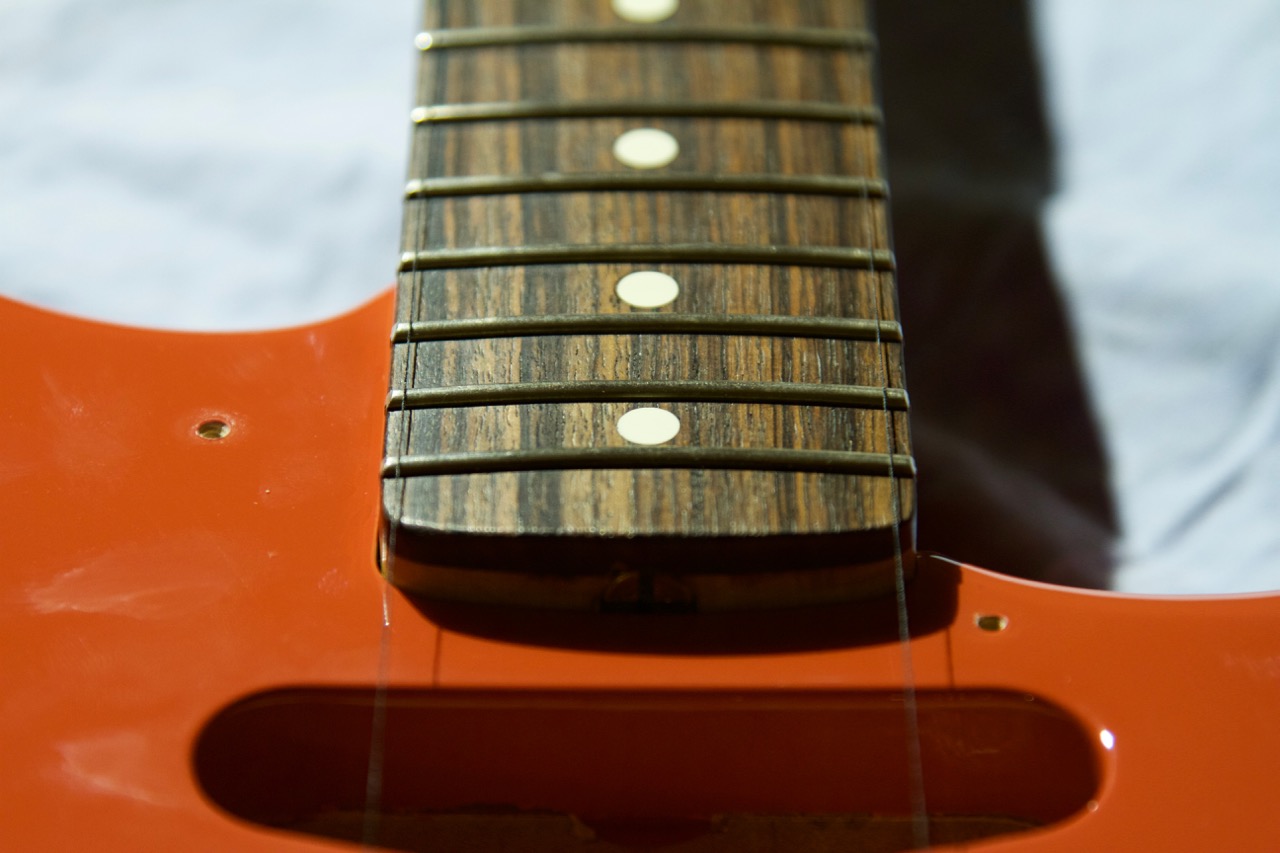
The improvised measuring rig showed that the 1st string would indeed end up way too close to the edge of the fretboard, so obviously the neck was not connected straight. Fixing this was pretty easy, though. I loosened up the neck screws a little bit, turned the guitar on its side, pushed the neck gently down while re-tightening the screws. A second measurement shows both E-strings now roughly at the same distance from the fretboard edges.
When it’s time to start dialing in the action and intonation, I should be able to find out whether there’s need to either adjust the truss rod or shim the neck pocket. So far I’m happy with how the neck is attached so the next step would be to start working on the electronics.
A really cool thing about Stratocasters is that you can pretty much put the entire electronics package together onto the pickguard and just drop it into the guitar. The only two things that need to be done on the guitar itself are the output jack and the tremolo claw grounding. Joining the loaded pickguard with the guitar is therefore only a matter of soldering three wires.
However, up to 1964 the other end of the tremolo ground wire actually connected to the ground pin on the output jack instead of the volume pot. So in this case only the two wires from the jack need to be soldered to connect the pickguard. I’m going to give that a try but may fall back to the “modern” wiring scheme if it causes excessive noise.
In the next part, it’s time to heat up the soldering iron!