Building a mini-ITX NAS server
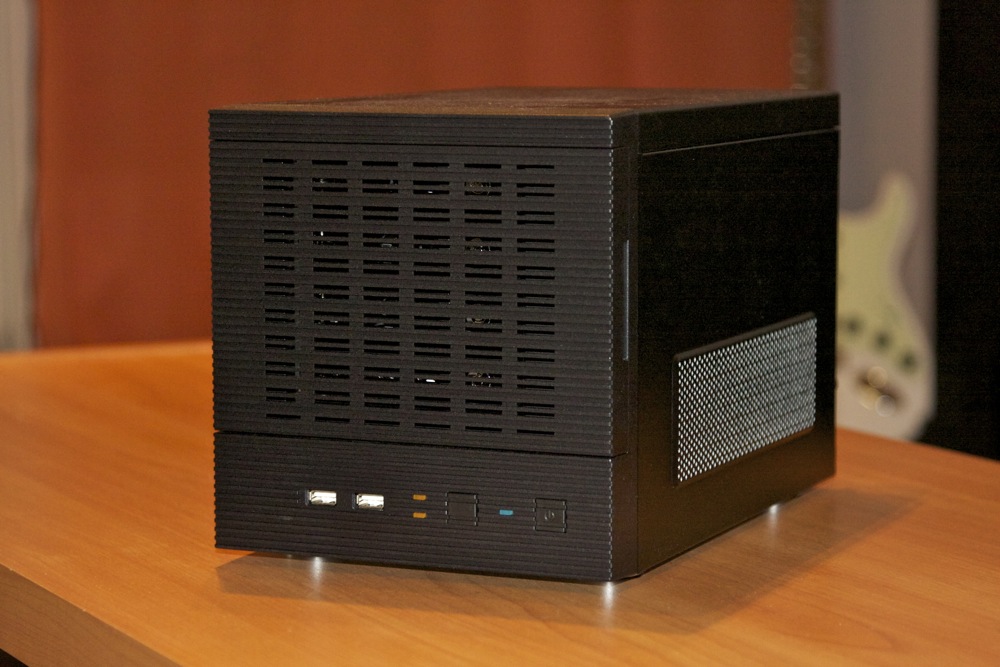
So far my desktop computer has been stuffed with hard drives and has, among its other tasks, provided storage services to all my other devices at home. This is not quite ideal as the computer is often rebooted between operating systems, making some services unavailable at times. Since these days almost everything from game consoles to telephones connect with a network, it’s starting to make sense to have a dedicated disk server providing fault tolerant data storage and NAS services on the home LAN.
I set out to build a computer that would not only allow me to store my files on shared network drives, but also to easily take daily backups over the network instead of using USB hard drives. While there are several complete solutions to accomplish these, nothing beats the cost and flexibility of the good old generic PC. Yes, it will take a bit more time to build and configure but what I’ll get is a system tailored for my requirements. As I also happen to quite enjoy tinkering with things, building the server should be an interesting little project to work on.
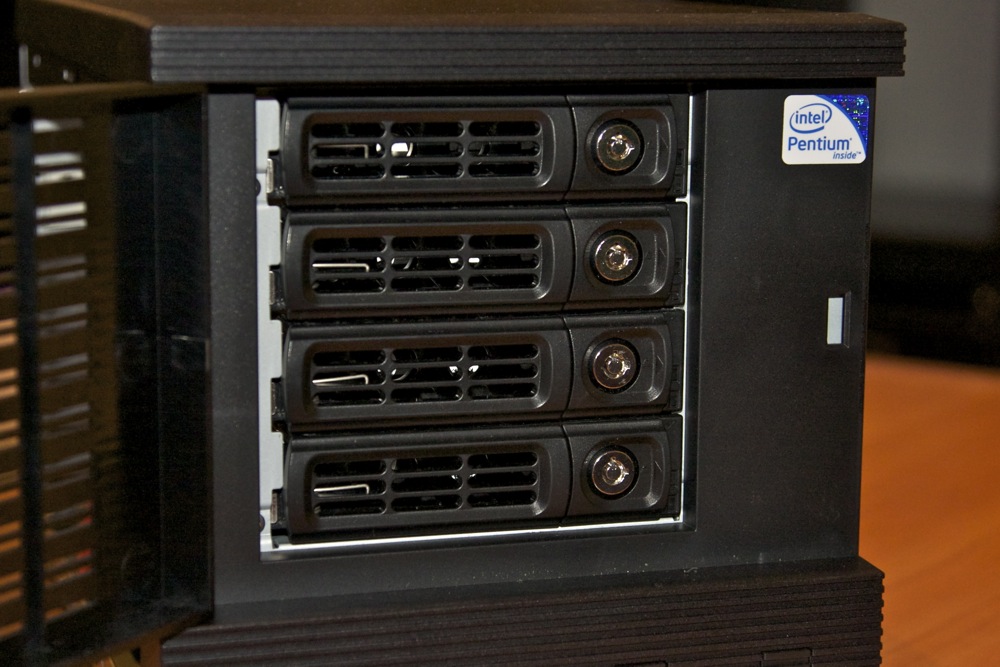
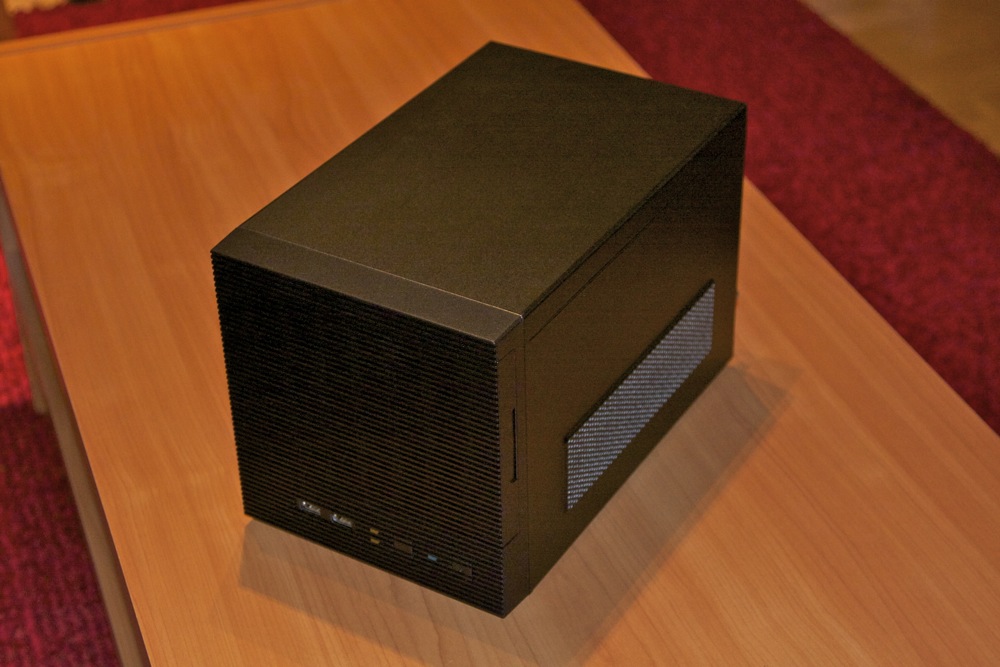
A huge tower case - as most PCs are - in the corner of my living room doesn’t sound like a particularly attractive idea, so I decided to go for the mini-ITX form factor to keep the box small and tidy. There are a few dedicated NAS enclosures available, but I eventually settled for the quite recently released Eolize SVD-NC11-4 chassis. It features four hot-swap disk bays with SATA backplanes and a 200W flex-ATX power supply - all for a very reasonable price. A large 140mm fan at the rear provides decent airflow across the mainboard and hard drives while making only a barely audible hum. The tiny 40mm fan on the power supply, on the other hand, emits a constant whirring noise that gets annoying very quickly. Fortunately it looks like a fairly easy job to replace it with a quieter one.
The Eolize chassis feels very solidly built, with the exception of the front door which feels a bit flimsy when open. Although both side panels come off by removing two thumb screws, there isn’t much room to work in. It’s a good idea to try to connect most of the cables to the mainboard before moving it into the chassis. The front bezel has two HDD LEDs, so one of the cables remains disconnected as mainboards typically only have a single common LED header. Disconnecting the reset switch once the system is set up and running is probably a good idea as well.

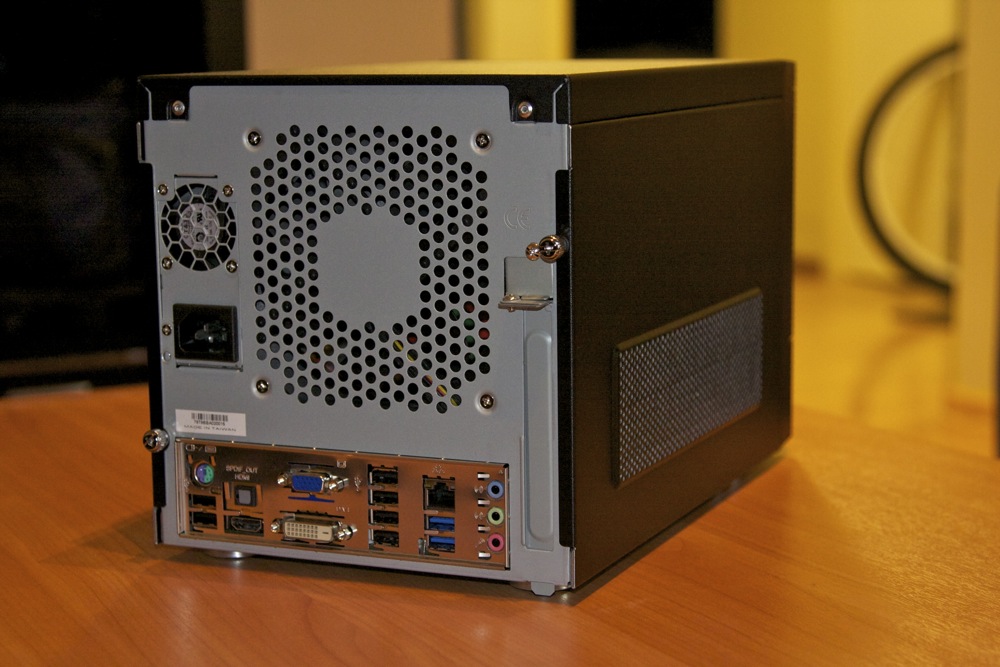
Mini-ITX mainboards used to be solely based on low-power CPUs such as the Intel Atom series, but nowadays there’s a very good selection of boards built around full-size CPU sockets. The most recent ones use Intel’s H67 chipset, allowing the use of socket-1155 CPUs based on the very latest Sandy Bridge architecture. This opens up the possibility to have actual desktop CPU power in a tiny mini-ITX package. Some boards also have PCIe 16x slots suitable for fast graphics cards, should your PSU suffice to run one.
My mainboard choice for the NAS server was the Asus P8H67-I as it looked like a very well thought-out board and above all, featured six SATA ports. My board uses the revision 3 Intel H67 chipset, so it no longer suffers from the bug affecting the SATA interface. The chipset, along with the CPU, also contain a GPU which enables video output to HDMI and DVI ports at the back. A single gigabit ethernet port is provided by a very common Realtek chip. The board does have a PCIe 16x slot but I have no use for it at the moment and the chassis only has space for short expansion cards anyway.
Despite its “classic” name, the Pentium G620 is based on Intel’s 32nm Sandy Bridge architecture and runs two 2.6GHz cores with a max TDP of 65W. It was the cheapest CPU I could find for the 1155-pin socket but should be more than enough for my needs. As ZFS likes to have RAM to play with, I equipped the board with eight gigabytes of DDR3. Memory is so cheap these days that it would be foolish to skimp on it.
However, the same doesn’t apply for hard drives. My timing for building a NAS could not have been worse, as the massive flooding in Thailand had caused hard drive prices to skyrocket in just two weeks. Luckily, I found out that a local electronics superstore was still selling external 2x2TB USB drives for a pre-flood price. I bought two units and promptly took them apart to extract two 2TB Samsung HD204UI drives from each box. A tiny 1GB DeLOCK SSD accompanies the spindles, providing a small /boot partition separate from the actual disk array.
Because the drive cage on the chassis extends quite far back and partially over the CPU socket, it severely restricts the size of the CPU cooler. My plan was to use the boxed Intel cooler as I approximated that it would fit, albeit with minimal clearance. However, the mainboard needs to be slid into the chassis at a slight angle and unfortunately this is impossible to do with the CPU cooler installed on the board. I had to resort to cutting the fan off the heatsink and rigging a standard low-profile 60mm fan on top of if using zip ties. Not very pretty, but it’ll have to do until I find a better solution.
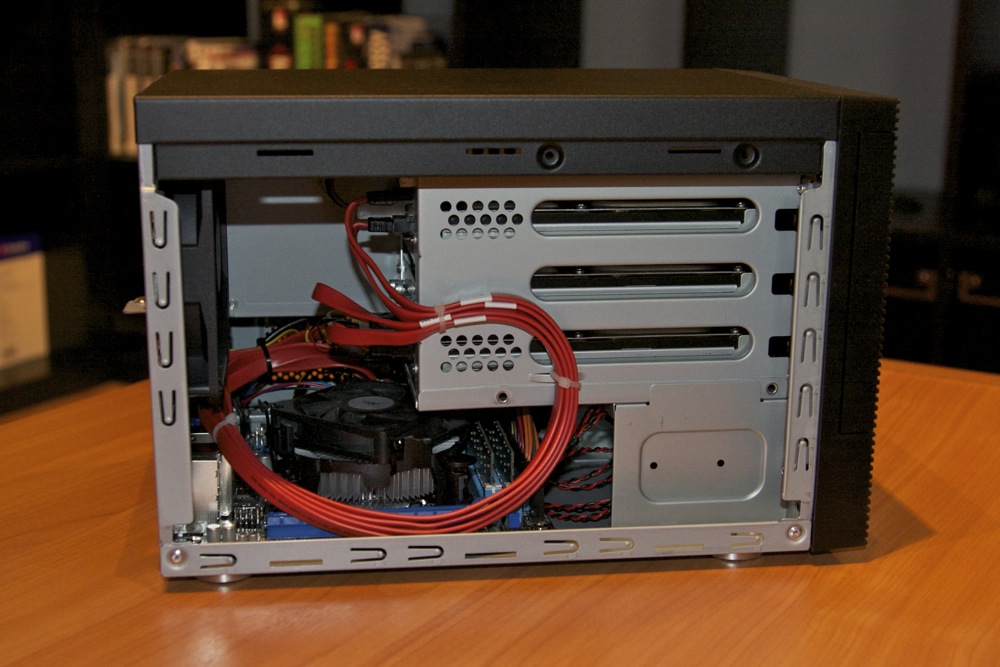
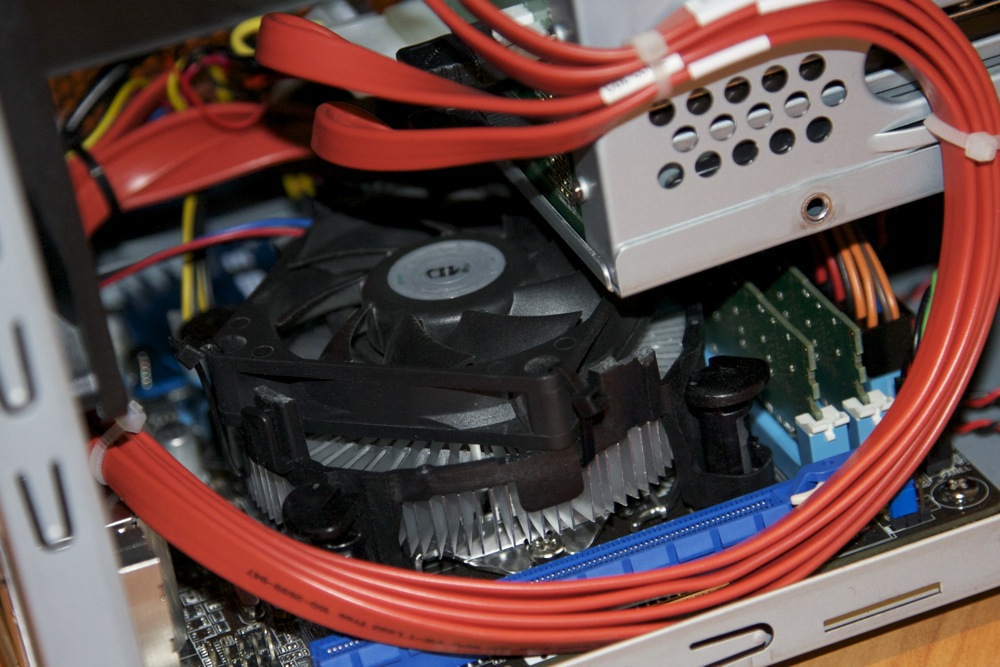
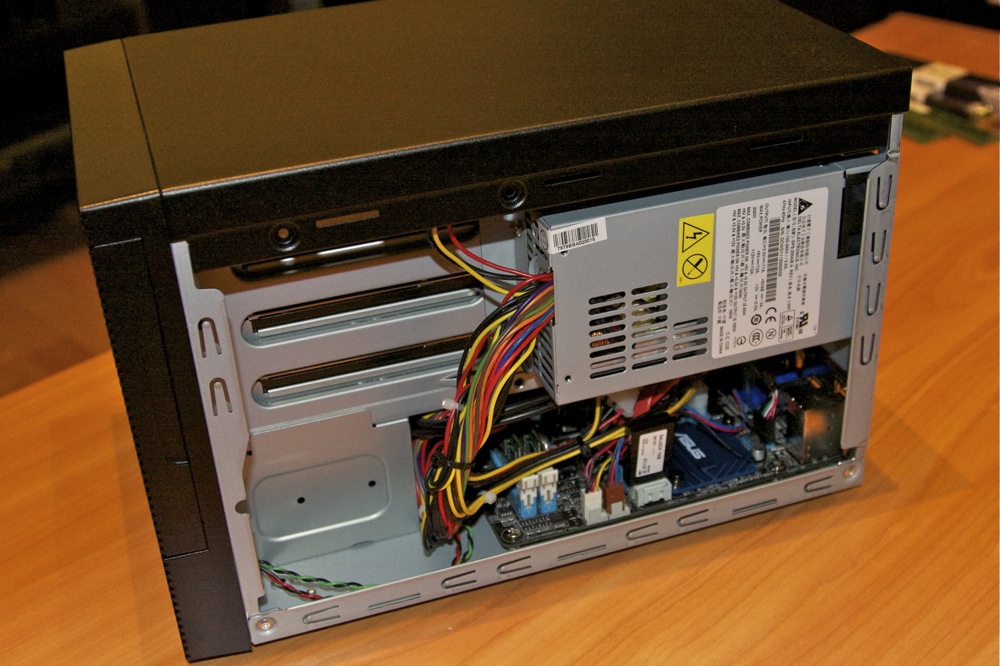
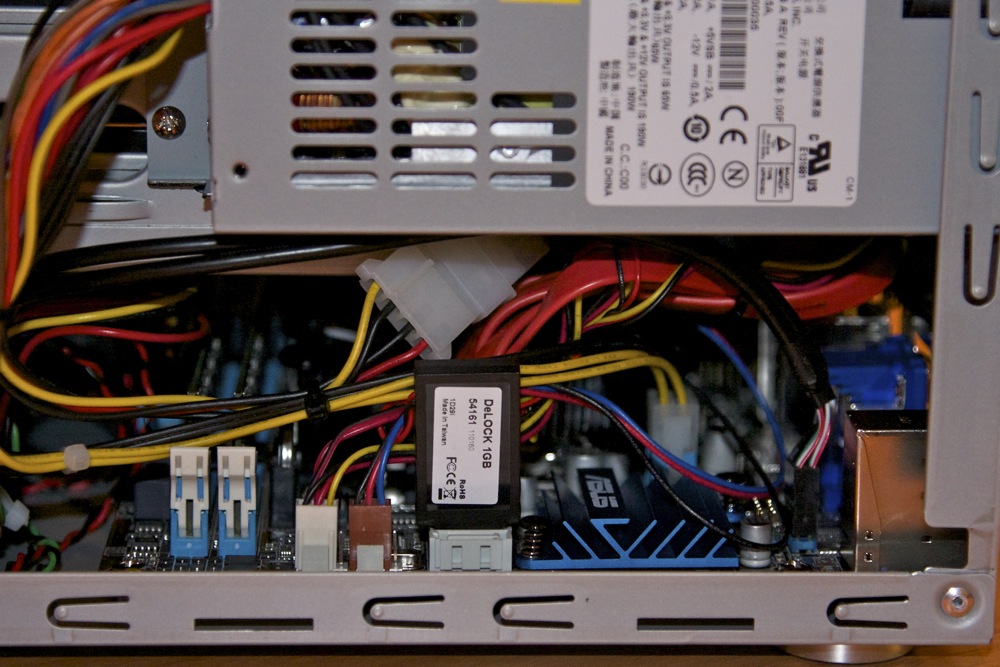
Apart from the ugly hack required to provide cooling for the CPU, assembling the server was a pretty painless job and only took me a few evenings to finish. All the hardware appear to play nicely together and the system greets me with the shiny new Asus UEFI setup menu when powered up. Most of the BIOS settings didn’t need tweaking but switching the hard drives into AHCI mode is a good idea to enable hot-swapping. Of course, should there be a disk failure, a few minutes of downtime to replace a drive certainly wouldn’t be a problem on a home server. Still, it’s always neat to be able to hot-swap hardware.
The next job would be to decide which operating system to install on the server. My original idea was to run FreeNAS on it because I’m lacking RAID hardware and would prefer to use ZFS instead of software RAID5. However, realizing that the server would sit only a few metres from my television made me rethink about the OS as having some HTPC features on the box would certainly be nice. I eventually decided to go the adventurous route of installing Linux with native ZFS instead of the more traditional LVM on md - more on this in the next post.